Painting IKEA Furniture: 5 Simple Steps [EASY]
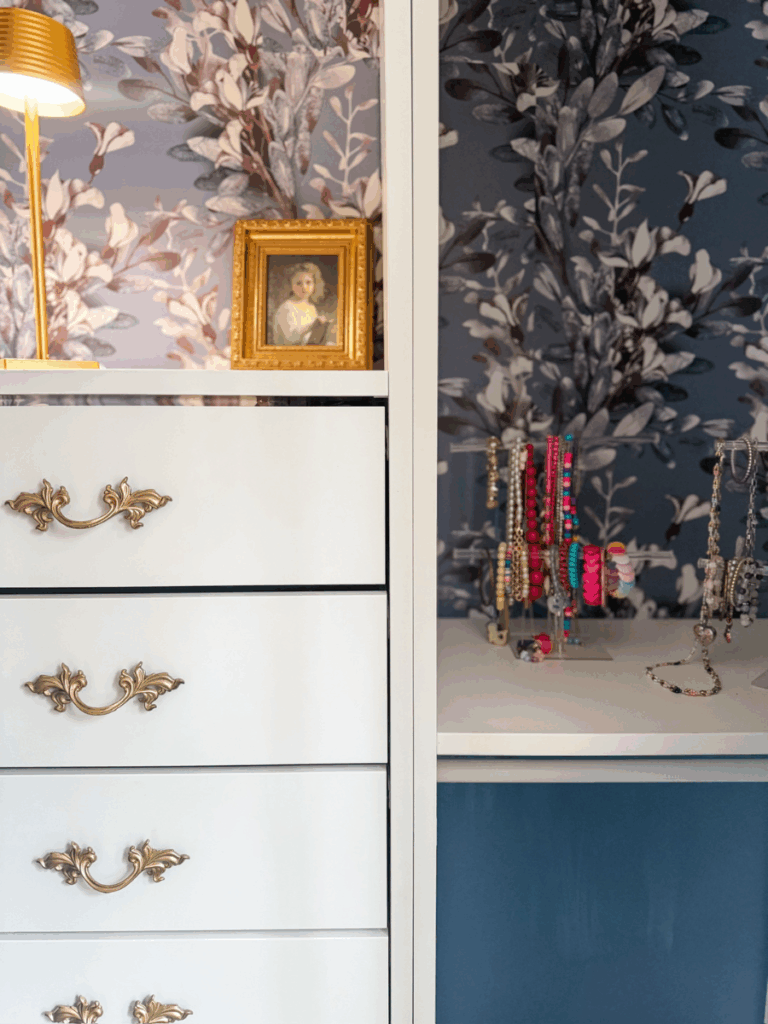
Over the last few years, I have completed several DIY projects at my home and the homes of my friends that involve upgrading IKEA products. Painting IKEA furniture is a great way to personalize it and elevate it to a more custom look.
However, most IKEA pieces are made with laminate or veneer finishes, which makes them a bit tricky to paint. If not applied correctly, the paint is likely to peel or chip. Below are my tried and true tips for achieving a smooth and long-lasting finish when painting IKEA furniture.
Something to consider: It’s easier to get even sanding and paint coverage on flat surfaces. If you’re painting a new IKEA piece, try applying the paint before you assemble it. When working with a piece you already own, consider whether it’s worth your while to disassemble it before you paint.
Collect Your Supplies:
- Drop cloth or plastic sheeting
- Degreasing cleaner (for furniture you already own)
- Sandpaper (120- and 220-grit)
- Clean rags
- Primer (bonding primer like Zinsser B-I-N)
- Paint
- Topcoat (polycrylic for durability)
- Foam roller, angled brush, or paint sprayer
- Painter’s tape (optional)
- Gloves and mask (recommended for sanding and priming)
Step 1: Clean Thoroughly
Whether you’re painting IKEA furniture you’ve just purchased or a piece you’ve owned for some time, you should always start by cleaning the surface. Wipe down every surface with a degreasing cleaner to remove dust, oils, and fingerprints. IKEA’s smooth laminate surface doesn’t allow paint to grip well, so a clean surface is key.
Let it dry completely before moving on.
Step 2: Lightly Sand the Surface
You can skip this step if you want and go straight to the next step. If you want to be extra efficient, use 120-grit sandpaper to scuff up the surface of the furniture. The goal isn’t to remove the finish but to create texture so the primer adheres properly. Like I mentioned above, this is much easier to do if the piece is unassembled. It’s up to you if you think it’s worth the effort to take that step.
Wipe away any dust after you finish sanding.
Step 3: Prime
Use a bonding primer specifically made for slick surfaces. This is the most important step if you want your paint job to last. I reccomend Zinsser B-I-N Primer.
- Apply an even coat with a foam roller or brush.
- Let it dry (usually 1–4 hours).
- For best results, lightly sand again and wipe clean before painting.
Here’s an example of what happens if you try to paint your IKEA furniture without priming it first.

Step 4: Paint
Now it’s time to apply your paint. You can choose whatever paint deliery system you prefer. A foam roller leaves a smooth finish, a brush is great for painting details, or if you have a sprayer, it can hlep you get a perfectly even coat with no brush marks.
- Apply thin, even coats. Don’t try to cover it all in one go.
- Let each coat dry fully before adding another (usually 2–4 hours).
- Two to three coats should do the trick.
Step 5: Seal with a Topcoat
Once the paint is dry, seal your piece with a clear polycrylic topcoat to protect it from scratches, especially for high-use items like tables or dressers. This step is optional, but I recommend it if you have kids or pets.
- Use a water-based polycrylic for light colors to avoid yellowing.
- Apply 1–2 coats, letting each one dry thoroughly.
Once everything is fully dry and cured (wait at least 24–48 hours for durability), you can attach your hardware and start using your freshly painted piece!
Bonus Tips:
- Want to skip sanding? Use a mineral-based chalk paint, but still apply a primer for better results.
- If painting IKEA kitchen cabinets, be sure to use a highly durable topcoat.
- A little trim goes a long way! Consider adding extra trim to your IKEA furniture to give it a custom look. You can learn more about that process here.
With just a little prep work and patience, you can transform basic IKEA pieces into beautiful, custom furniture you’ll be proud to show off!