DIY Curtain Ideas: No Sew Upgrade to Transform Your Home
When we moved into our home 6 years ago, there were already curtain rods and panels hanging in our living room. They were nice, but not my style. I had a bazillion things to do to make our house liveable, so I bought some inexpensive sheer curtains and left them hanging where the rods were already mounted.
If you’ve ever shopped for curtains, you know that they can be very expensive. I knew they wouldn’t be our forever curtains, but they would hold us over for a few years. Fast forward 6 years, and I was finally sick of looking at my part-time curtains and ready to spend some money (but not too much) on something new.
With a long list of DIYs and two growing kids, the last thing I wanted to drop a lot of money into was new window coverings. So the question remained: What were some simple DIY curtain ideas I could use to breathe new life into the window treatment we already have?
The Problems with My Curtains
Three things bothered me most about the existing curtains, and each of them was alleviated with this one simple DIY project.
Hung Too Low
Hanging curtains too low on the wall can make ceilings appear shorter, and rooms feel more cramped. Consider mounting your curtains closer to the ceiling or several inches above the window frame for a more elegant and spacious look.
Pooling on the Floor
Curtains that pool excessively on the floor can create a messy, unfinished look, especially in modern or minimalist spaces. Plus, they’re magnets for dust and dirt, making them harder to clean and maintain. I think curtains function best when they graze the floor.
Grommet Curtains
Grommet-style curtains give a casual or industrial look that doesn’t align with my personal style. For a softer and more elegant aesthetic, I prefer curtains with pleats or rod pockets.
What I Tried First
Before I decided to make my curtains work, I thought I’d take the easy way out and buy new curtains. I ordered some very classy-looking off-white curtains from Amazon, and while they were beautiful, they didn’t fit my aesthetic. The front of my house gets a lot of natural light, and they felt too heavy, were too short, and made the room darker than I wanted. You can see them on the left window in the photo below.
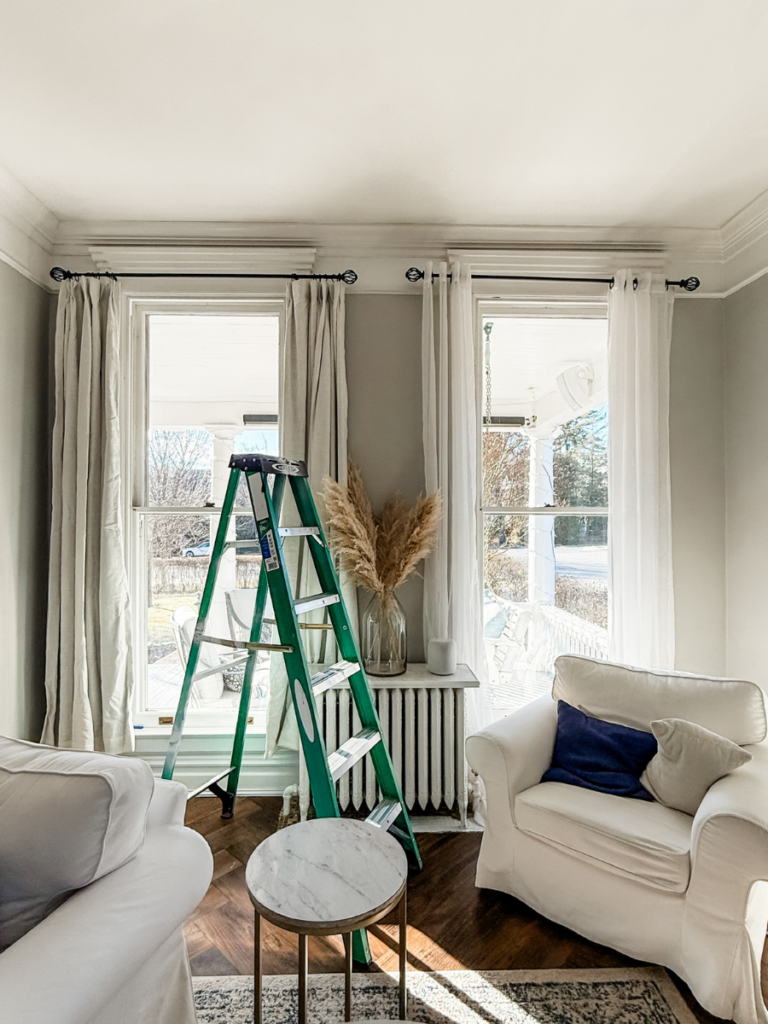
This is my reminder that it’s important to listen to your gut. It would have been really easy to leave up those lovely white curtains that I had paid for. But I know myself well enough that I would have eventually wanted to replace them. I decided to listen to my inner voice- she has great ideas!
The Simplest and Classiest Curtain DIY Idea
Step 1: Raise the Rod
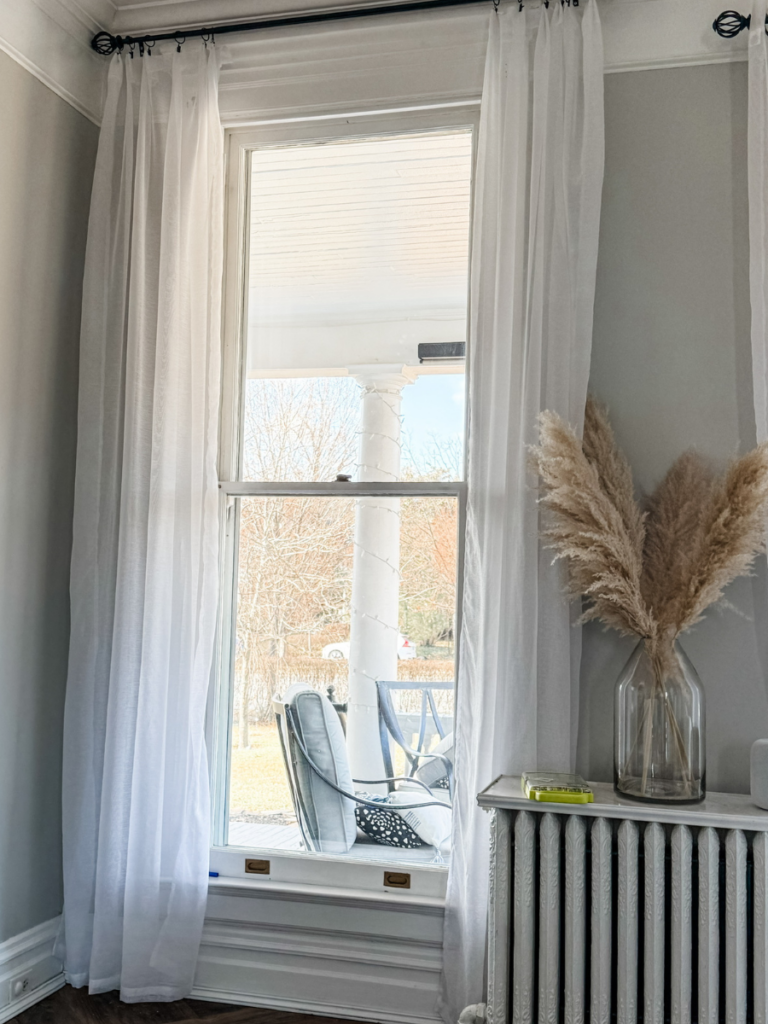
Ok, let’s get into the project at hand! The first thing we needed to do was raise the curtain rod to the ceiling. Our house has very tall ceilings; by raising the curtains, we can take advantage of that height. Plus, the trim around our windows is really beautiful, so I wanted to show it off. This step alone was an inexpensive way to make a huge difference in the room.
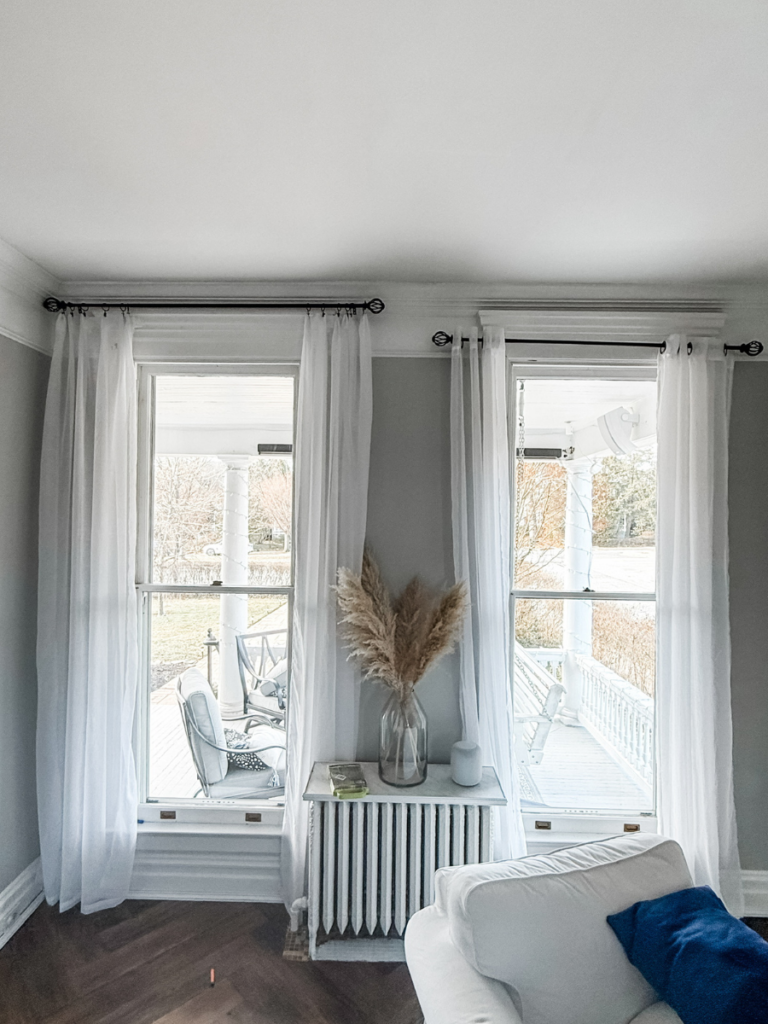
I could have stopped at this point, but I was intent on getting a more finished look by turning the grommet curtains into DIY pinch pleat curtains.
Step 2: Eliminate the Grommets
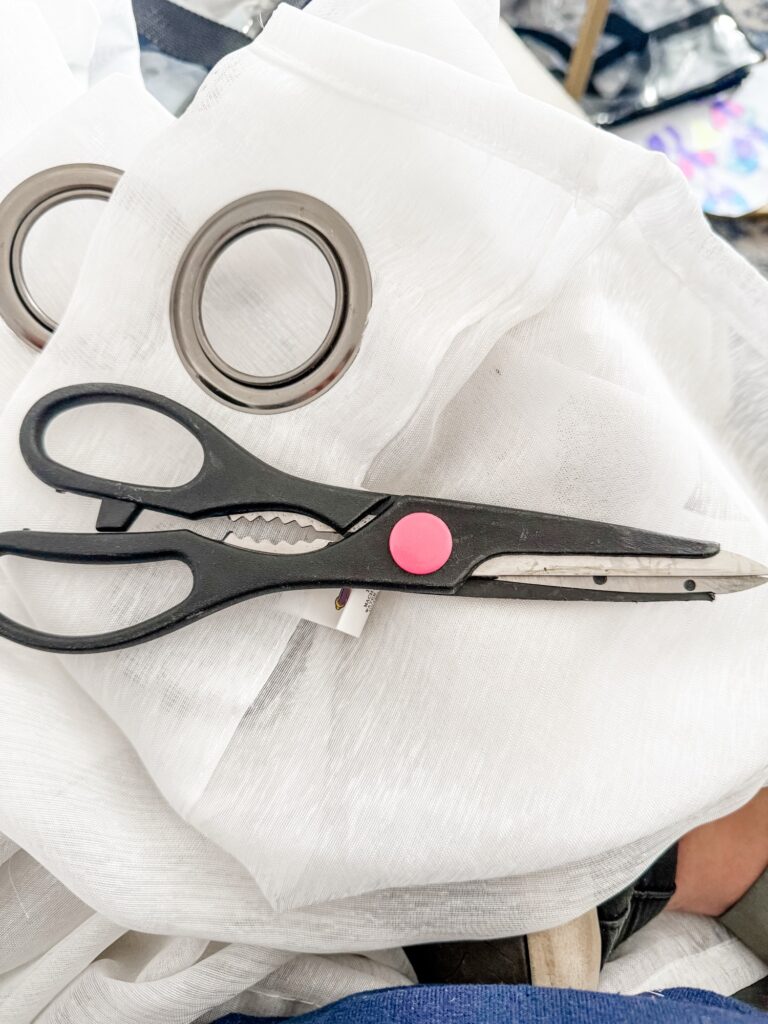
Grommet curtains are not in keeping with my style, so I knew I wanted to edit them.
- The first step is to measure the distance from your curtain rod to the floor to ensure you have enough extra length to cut off the grommet section without creating awkwardly short curtains.
- Then, you take a pair of fabric scissors and cut a straight line across. It’s important to be precise because unevenness at the top will show at the bottom of the curtain. This step may seem intimidating, but it’s worth it!
Step 3: Create the Pinch Pleat
At this point in the project, there are a couple of different places you could go with it. If you have a sewing machine, you could fold over the top about 3 inches (depending on the diameter of your curtain rod) to create a pocket for the rod to go through. This is a very common style, but I think there are much more interesting DIY curtain ideas to pursue.
My personal preference is to make DIY pinch pleat curtains using curtain rings with clips on them. You can get these anywhere. Click this link to see a great, affordable option on Amazon.
Curtain clips are a great way to make window coverings from nearly any fabric. You know my love for thrifting runs deep. I could easily see using this product to make DIY curtains from a thrift store flat sheet, canvas drop cloths, or cheap curtains that could use another chance at life!
- Once you’ve got the perfect fabric for your curtains, you will make a one-inch fold at the top corner of your fabric, then make another one-inch fold and clip the two together. From the front, you should immediately be able to see it gives a more tailored look.
- Then, leave about four inches of space and repeat until you reach the end.
Check out this Instagram video to see the process for steps 2 and 3.
I knew immediately when I hung these curtains up that I had made the right choice! I’m so happy with the finished product.
How to Choose Your Window Coverings
White, sheer curtains are ideal for my space, but you may be looking for something a little different. Here are some DIY curtain ideas for each room of the house
Kitchen
- Cafe curtains are so adorable in kitchens and bathrooms!
- Roman shades give a class look and are nice and short for staying off the floors and counters.
Primary Bedroom
- For a good night’s sleep, blackout curtains are a must!
Kids Room
- I think a kid’s room is the perfect place to get creative with curtains. Why not take some fabric paint and a drop cloth and go crazy?
- I see these adorable pom pom curtains all the time, and I think they would be perfect in a little girl’s room.
Family Room
- If your space is light and bright like mine, sheer curtains are a must. These curtains are already pleated!
- If you’re going for more of a cozy and warm vibe, I recommend getting some heavier, quality curtains to soften your space. I used these curtains in my daughter’s room and I love them They look very high-end at an affordable price!
I hope you enjoy this DIY curtain project. I can’t tell you how much of a difference it has made in our space, and it only cost me about $15 and a little bit of time. This is just another reminder to me that sometimes, investing in your old curtains (or furniture, or decor items, etc.) is the best investment you can make in your home.
Follow along for more DIY curtain ideas in the future, or contact me to learn how to DIY your dream home on a budget.


![Thrifty Kids Playroom Makeover for Older Kids [On A Budget]](https://drdiyrenovation.com/wp-content/uploads/2024/03/IMG_6838-768x576.jpg)
