Your Kids Will Love This Easy DIY Nerf Gun Wall Makeover
One of the great conundrums of home decorating is figuring out how to design a fun and engaging child’s room that looks and feels great with your home’s overall decor. Enter the Nerf gun wall!
As you probably know by now (if you’re a regular follower) my home’s style is fresh, modern, and classic. I love whites and creams with simple organic textures, and my son loves, well…nerf guns. So, where I would personally love to design a classy gallery wall for my son’s room, I knew we needed a fun accent wall that also doubled as toy storage.
Designing this with my son was such a fun experience and was one of a few easy ways I could introduce bright colors while still coordinating with the rest of our home.
Disclosure: Affiliate links may be used in this post, at no cost to you.
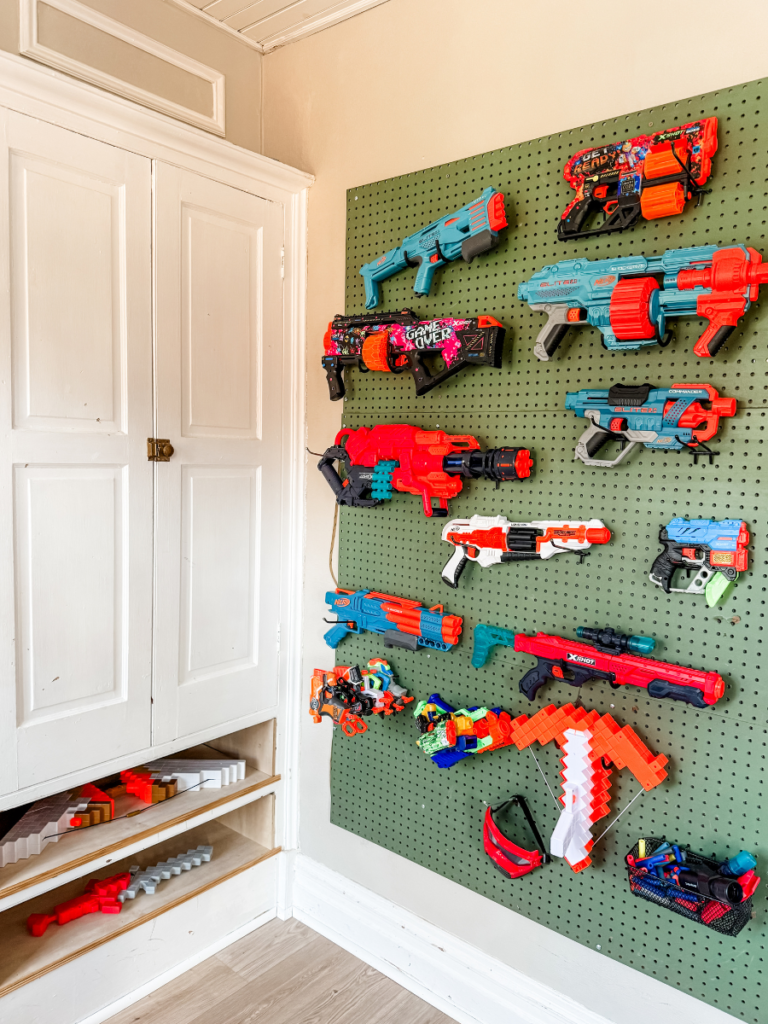
If you’re new to DIY projects and want a simple way to update your child’s bedroom, I highly recommend a nerf gun wall of your own. Side note: this fun feature wall can easily be updated to work for a little girl.
Measure Your Wall
The first thing you need to do is find the perfect spot for a nerf gun wall and measure the wall space. This information will help you decide what materials to purchase. If your child has a small room, you may need to cut down your peg board to fit the wall.
Most hardware stores can cut your materials down for you on-site. This is a great option if you don’t have your own tools or feel uncomfortable using them alone.
The peg board sheets come in 48-inch x 24-inch sheets. I’d recommend choosing a wall that will accommodate two or three sheets at that dimension, so you won’t have to cut it!
For reference, my pegboard wall is 48 inches wide and 72 inches tall, so I purchased 3 sheets of pegboard at Lowes.
Grab Your Supplies
Once you know what size you need to fill, it’s time to head to your favorite hardware store. I know places like Lowes carry the products you need. If you want to shop at a smaller store, you may want to call them first to check.
Your list should include a peg board (measured to fit your space), screws and anchors to attach to the wall, paint that matches the theme of the room, and peg board hooks or other small accessories. Notice in the photo below that you can purchase baskets to hang on your pegboard, too!
Pegboard from Lowes
Pegboard hooks from Lowes
If you don’t have a Lowes near you, here are some pegboard accessories you can order from Amazon!
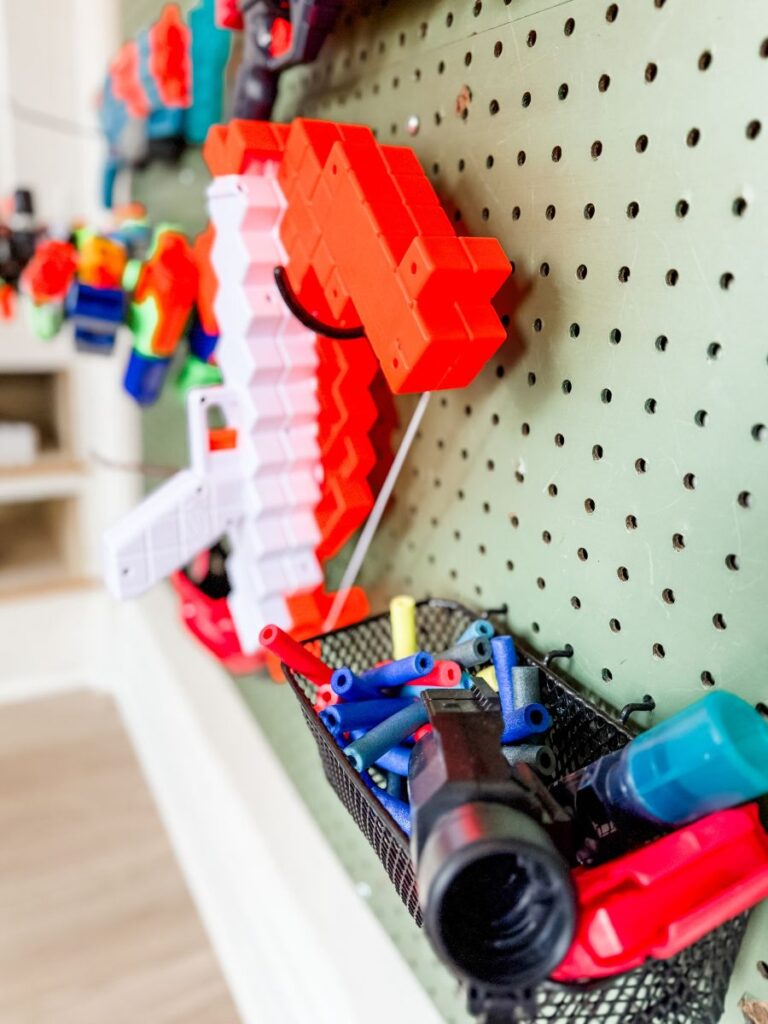
Paint the Pegboard
This is where the fun begins! I chose a lovely forest green color for my son’s wall. I think it looks really great with the bright colors of the nerf guns.
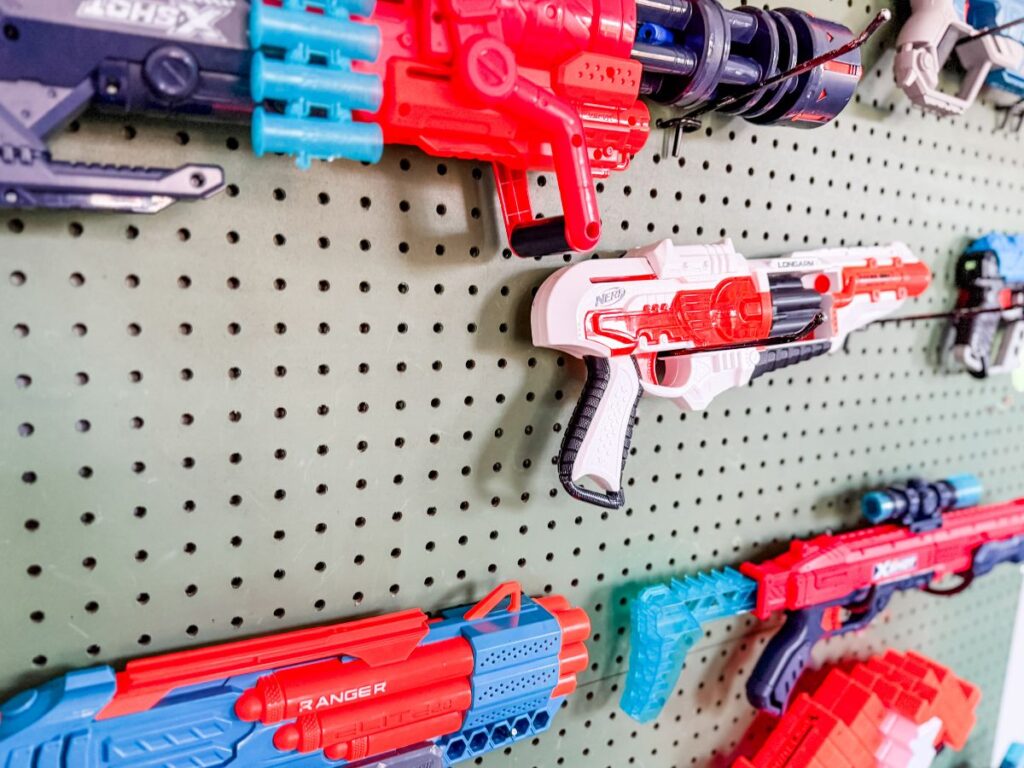
Since you’re not painting on the wall directly, you can go as wild and crazy as you want to with this project! If you’re usually hesitant about choosing bold styles, this may be a great place to experiment. Something important I learned while painting the peg board is that you really have to be careful about getting paint into all the little polka dots.
It can take a lot of time, but the attention to detail will make the project feel much more finished.
Hang the Pegboard
There are people in the world who are really great at hanging wall art, and those who aren’t! If you’re in the second category, I highly recommend getting a second pair of hands to help you.
This is a great way to involve your older kids in the process of creating a special place to call their own. It really does make a difference that the peg board is level on the wall. A little attention to detail at this stage of the process goes a long way to making your kid’s room look professionally designed!
Add the hooks
Here comes the fun part! Now that the wall is hung, it’s time to add the hooks and arrange the nerf guns in a fun way. It looks best if there is adequate spacing between the guns so the wall looks like art. Then, once you’re done, you can step back and enjoy!
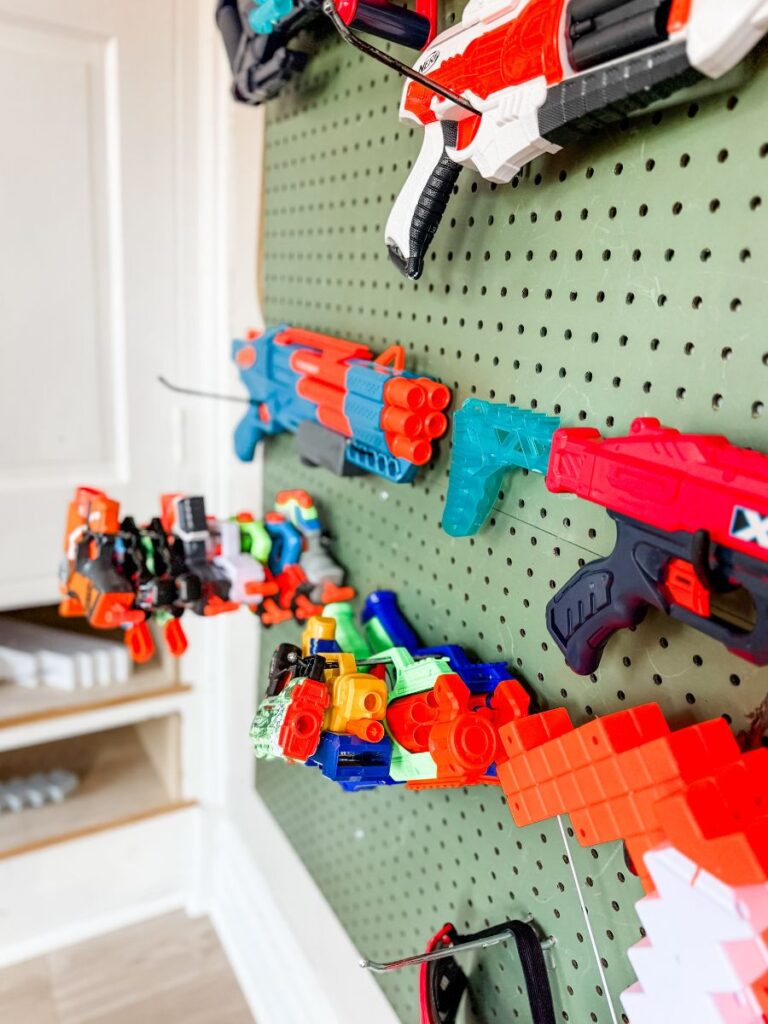
I can’t express how much this project meant to my son. He was beaming for days over this one design element, which made his sweet space feel like the kind of room he could really feel at home in.
Other Variations on the Pegboard Wall
Great news: this project is great for kids’ rooms of all kinds! My daughter is not as excited about nerf as her brother is, but I can think of a bunch of fun ways to display her items, from princess dresses and costumes to cute stuffed animals or even built-in shelves to hold her favorite special items.
If you want a more colorful design on your pegboard, you could even consider adding wall decals in whimsical themes to compliment the overall theme of the space. I could also imagine a million ways in which this wall will evolve with my son as he moves into his teen years.
Eventually, the nerf guns will come down, and that corner in his room may become a soft spot to land after a long day at school. I’m picturing throw pillows and bean bags. But for now, it’s perfect!
It’s really easy to get caught up in the idea that creating an impactful and functional kids’ room means buying all new furniture and accessories. But, in my home, I focus much more on creating a lot of visual interest that doesn’t cost a lot of money.
Most of the furnishings in my home are second-hand, which means they have a ton of character that only adds to an already adorable space. If you’re looking for a simple and affordable project that combines simple design and ample toy storage, I highly recommend you give this one a try!
Happy DIYing!

One Comment
Comments are closed.