Get Started With Your First DIY Wallpaper Project
I love a DIY wallpaper project. It’s an easy and creative way to revamp your space. And depending upon what wallpaper you choose, it can be very affordable. You can use wallpaper to create an accent wall, refresh an old piece of furniture, or add a pop of color to the inside of a closet. The possibilities are endless.
There are three options when it comes to wallpaper: traditional, pre-pasted, and peel-and-stick. Each has its advantages and challenges, so knowing the differences will help you choose the best fit for your project. Let’s explore both options and get inspired to tackle your DIY wallpaper project!
3 Types of Wallpaper: What’s the Difference?
If you’ve been browsing wallpaper options, you’ve probably come across several different varieties. While they all can add beauty and personality to a room, they have distinct characteristics that can impact your DIY experience.
Traditional Wallpaper
Traditional wallpaper has been around for centuries and is known for its durability and high-quality appearance. Wallpaper paste must be applied to the back of this paper as it is not already sticky.
Pros:
- Long-Lasting: Traditional wallpaper is extremely durable and can last 10-15 years or more.
- Professional Look: The finish is smooth and seamless, giving your walls a high-end aesthetic.
- Wide Variety: Comes in endless colors, textures, and patterns, including luxurious fabric-backed options.
- Great for High-Traffic Areas: Works well in hallways, living rooms, and other areas that require a durable finish.
Cons:
- Challenging to Install: Requires patience and precision to align patterns and apply adhesive.
- Difficult to Remove: Removing traditional wallpaper can be time-consuming, requiring water, steam, or chemical solutions.
- Permanent Choice: Not ideal for renters or those who frequently change their decor.
Pre-Pasted Wallpaper
Pre-pasted wallpaper comes with the adhesive already on the back. Similar to an old postage stamp or mailing envelope. But thankfully, you don’t have to lick it. They make specialized tools for that!
Pros:
- Easy to Apply: Just activate the paste with water—no need to buy or apply a separate adhesive.
- Less Messy: Since the paste is already on the back, there’s less chance of dripping or over-applying glue.
- Beginner-Friendly: Great for DIYers and first-time wallpaper users. It’s more forgiving and simpler to work with.
- Faster Installation: The process moves quickly once you get the hang of soaking and hanging the panels.
Cons:
- Needs Soaking: You have to soak each strip in water, which can be awkward and messy if you don’t have the right space or setup.
- Less Adhesive Strength: The pre-applied glue might not stick as well on textured walls or in humid areas
- Limited Design Variety: There are fewer pre-pasted options compared to peel-and-stick or traditional pasted wallpaper.
- Difficult to Reposition: Once applied, it can be tricky to adjust without damaging the paper.
Peel-and-Stick Wallpaper
Peel-and-stick wallpaper, also known as removable wallpaper, is a modern alternative that has gained popularity for its ease of use. It comes with a self-adhesive backing, making it a great choice for beginners.
Pros:
- Easy to Install: No paste or water needed—just peel and apply directly to the wall.
- Removable and Repositionable: Ideal for renters or those who love to switch up their decor frequently.
- Less Mess: No glue means no sticky mess during installation.
- Perfect for Small DIY Projects: Great for accent walls, furniture makeovers, or temporary decor changes.
Cons:
- Less Durable: Peel-and-stick wallpaper may not last as long as traditional wallpaper, especially in high-moisture areas.
- Limited Textures and Designs: While options are growing, traditional wallpaper still offers more variety in materials and styles.
- May Not Stick Well on Some Surfaces: Works best on smooth, clean walls but can struggle on textured or uneven surfaces.
Which Options is Right for Your DIY Wallpaper Project
Before starting your DIY wallpaper project, consider these factors to ensure success:
- Location: Are you wallpapering a high-traffic area like a hallway, or a moisture-prone space like a bathroom? Traditional wallpaper is better for longevity, while peel-and-stick works well for short-term or decorative projects.
- Skill Level: If you’re a beginner, start with a peel-and-stick option for an easier experience.
- Commitment Level: Renters or those who love frequent makeovers will appreciate the removable nature of peel-and-stick wallpaper.
- Budget: Traditional wallpaper can be more expensive due to the need for adhesive and professional installation (if you choose to hire help), while peel-and-stick options offer a more budget-friendly DIY approach.
Creative DIY Wallpaper Project Ideas
Once you’ve chosen your wallpaper, it’s time to get creative! Here are some fun and easy DIY wallpaper projects to elevate your home decor.
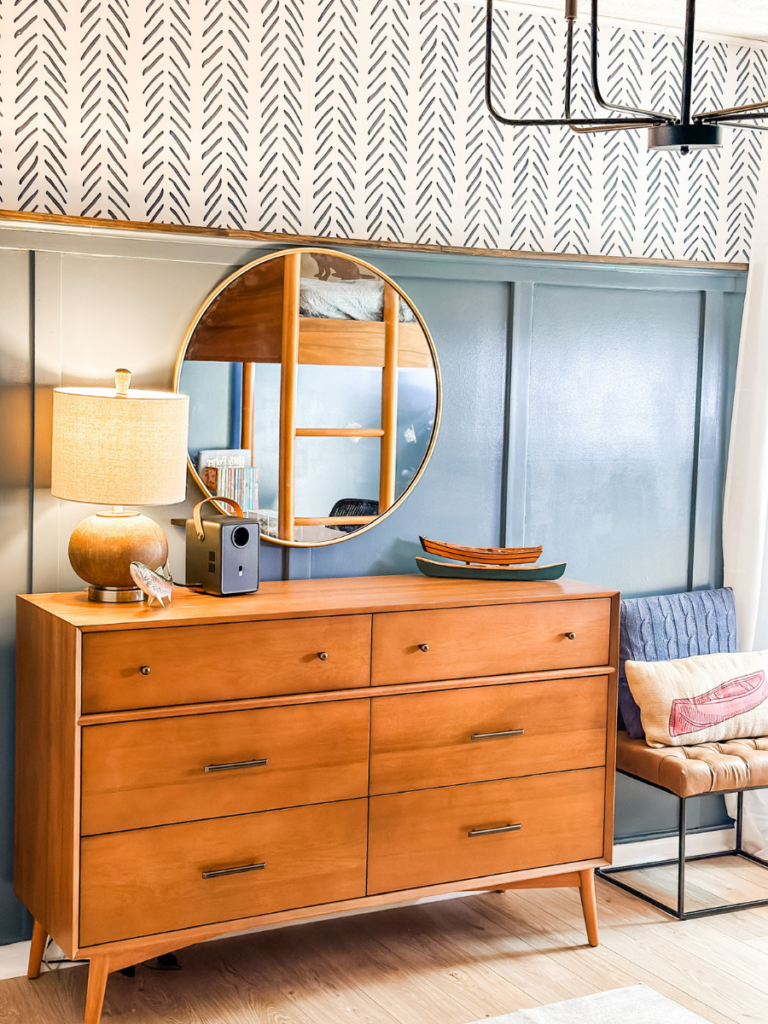
1. Accent Walls
If you want a dramatic change without wallpapering an entire room, an accent wall is the perfect solution. Choose a bold pattern or textured wallpaper to create a focal point behind a bed, couch, or dining table. Peel-and-stick wallpaper works especially well for this project because it allows you to experiment without a long-term commitment. My friend Blake used a stunning floral wallpaper in his boutique in DeLand, Florida. You can see pictures of it here.
2. Wallpapered Furniture
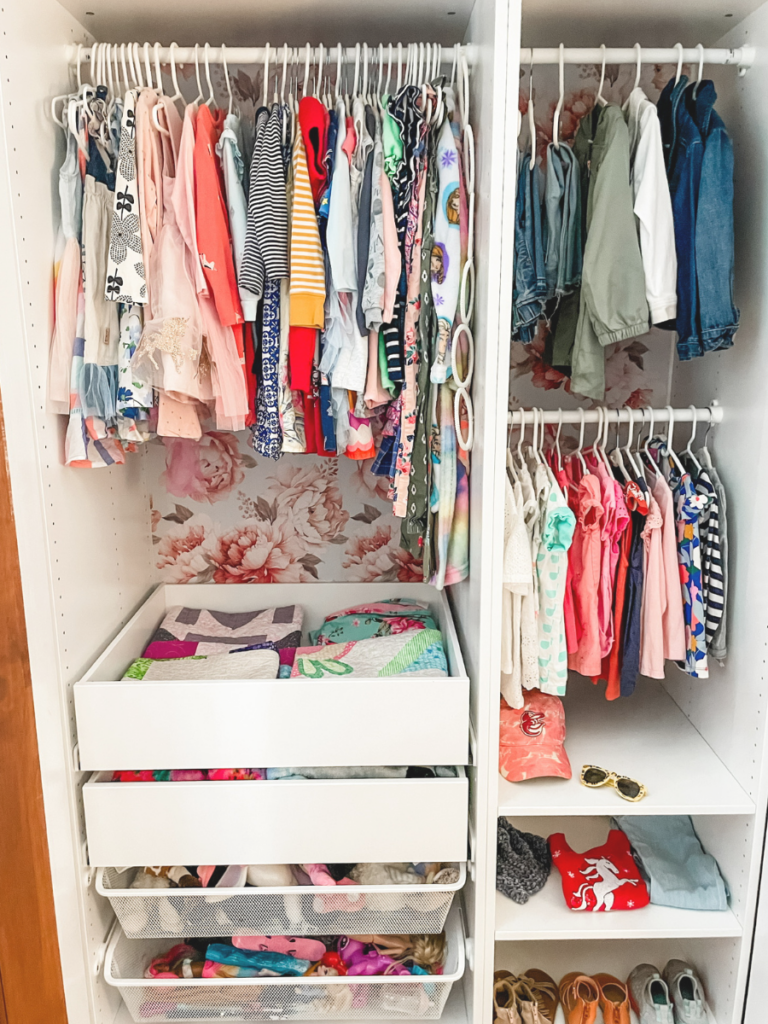
Give old furniture a fresh look by applying wallpaper to the back of bookshelves, the front of dresser drawers, or even the top of a coffee table. This is a great way to use leftover wallpaper scraps and add a unique, custom touch to your space.
3. Ceiling Makeover
Why not think outside the box? Wallpapering the ceiling can add an unexpected, playful statement to a room. I’ve never done this project before myself, but the results always look beautiful.
4. Stair Risers
Transform your staircase with wallpapered risers. This is a simple way to add personality to your home. Choose a cohesive pattern or mix-and-match designs for a fun, eclectic vibe.
5. Bathroom Refresh
Many peel-and-stick wallpapers are designed to be moisture-resistant enough to sustain being hung in a bathroom. Create a stunning powder room or a spa-like retreat with dramatic wallpaper.
6. Kitchen Backsplash Alternative
For a budget-friendly and stylish alternative to tile, use wallpaper as a temporary kitchen backsplash. Be sure to choose a wipeable, water-resistant wallpaper for easy maintenance.
DIY Wallpaper Project Tips for Success
To ensure a smooth installation, keep these tips in mind:
- Prepare Your Walls: Clean your walls thoroughly and let them dry before applying wallpaper.
- Measure Twice, Cut Once: Always double-check your measurements to avoid waste and ensure a seamless look.
- Start Small: If you’re new to wallpapering, start with a small project like a framed wallpaper panel or a piece of furniture.
- Use a Squeegee or Credit Card: Smooth out bubbles and creases as you apply the wallpaper.
- Take Your Time: Rushing can lead to misaligned patterns and air bubbles.
Should You Try a DIY Wallpaper Project?
The answer to that is YES! A DIY wallpaper project is one of the most rewarding and cost-effective ways to personalize your space. Whether you choose traditional, pre-pasted, or peel-and-stick, the possibilities are endless for adding color, texture, and personality to your home. With so many styles available and easy-to-use options, there’s never been a better time to experiment with wallpaper.
So, what are you waiting for? Grab some wallpaper, start your project, and send me pictures when you’re done!