Easy Gift Ideas: DIY Christmas Candle Crafts
I have many passions in life, but two of the biggest are thrifting and DIY projects. So, what could be better than combining the two? This time of year, it’s common to stress out and spend too much money. For the holidays, I knew I wanted to come up with a meaningful gift that I could make for some special people in our lives. Enter Christmas candle crafts! This project was an adorable and affordable holiday gift for friends, grandparents, and even our kid’s teachers.
This is also a great craft to involve the kids with (supervised, of course). I had our kids and their friends making candles for their parent’s Christmas gifts with their own customized scents.
Disclosure: Affiliate links may be used in this post, at no cost to you.
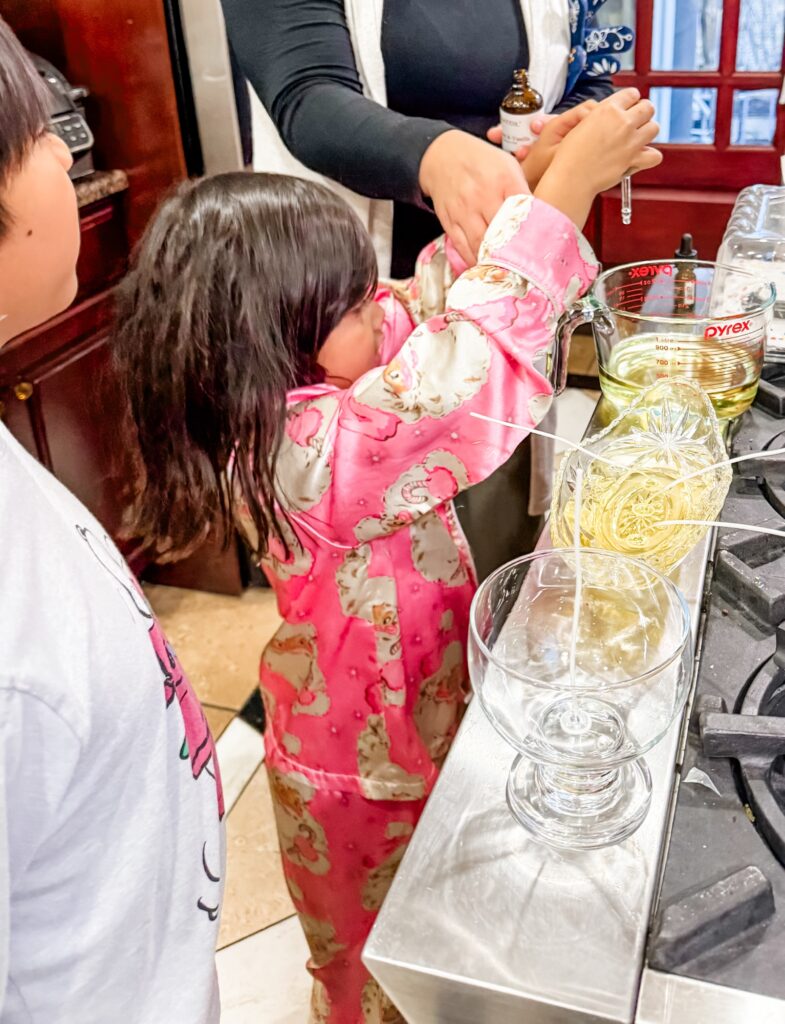
Handmade candles make charming gifts, elegant homemade decorations, or even centerpieces for special occasions. The best part? They’re simple to make and can be customized with your favorite colors and scents.
There are tons of places to purchase candle-making supplies online. If you want to browse the shelves, you might want to check out your local Michaels stores. Otherwise, I’m going to link Amazon products in the instructions below.
Follow this guide to create your crystal bowl candles in just a few steps.
What You’ll Need:
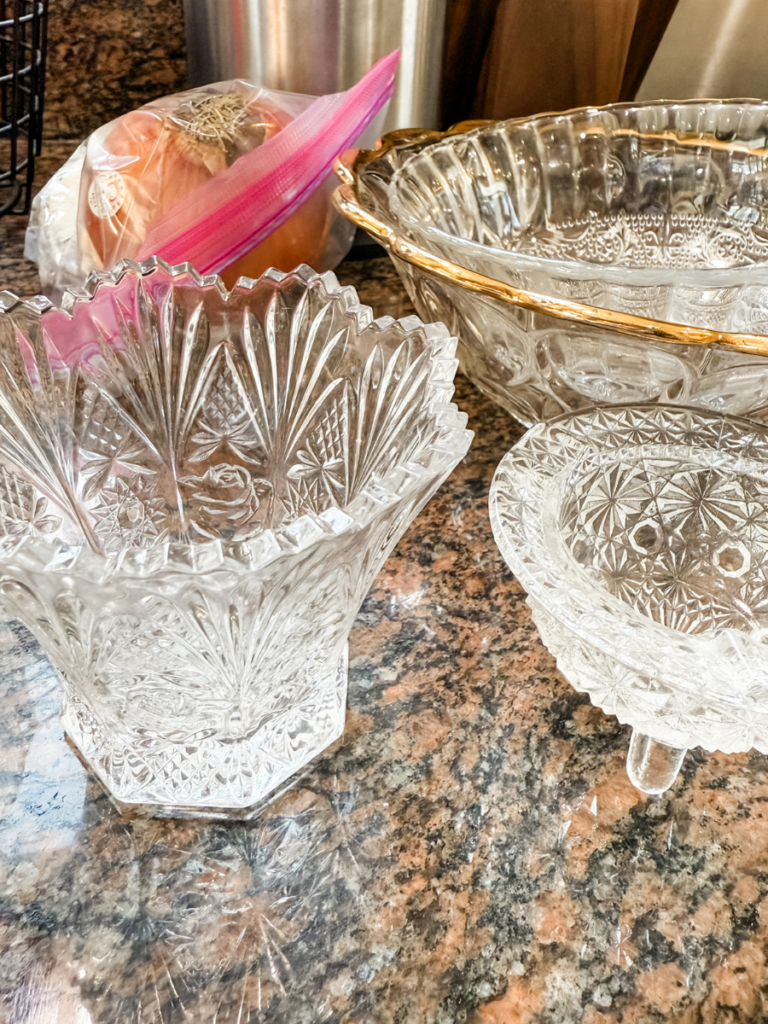
- Candle containers (I used crystal bowls from my local thrift store)
- Candle wax (soy wax, beeswax, or paraffin)
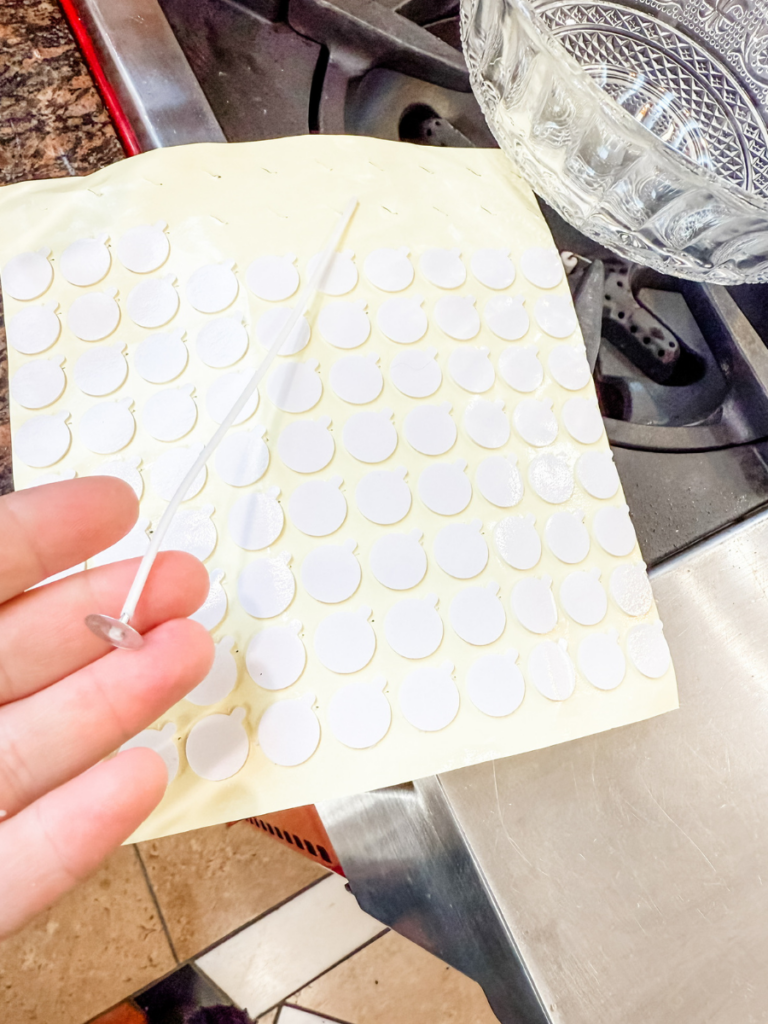
- Candle wicks (with metal bases)
- Wick stickers or hot glue
- Wooden skewers or chopsticks
- Essential oils or candle fragrance (optional)
- Scissors
This kit is what I used, and it has everything you need to make your candles (except the scent and the container).
Step 1: Choose your Containers
If you’re an avid thrifter like me, you know that thrift shops are a treasure trove of affordable and unique crystal containers. But if crystal isn’t your style, you can also use mason jars or other unique glass jars. Before you buy anything, you may even want to go through your recycling bin for options.
Once you have your containers home, wash them with warm, soapy water, dry them completely, and inspect them for cracks or chips. A smooth, clean surface will ensure the wax adheres properly and burns evenly.
Step 3: Attach the Wick
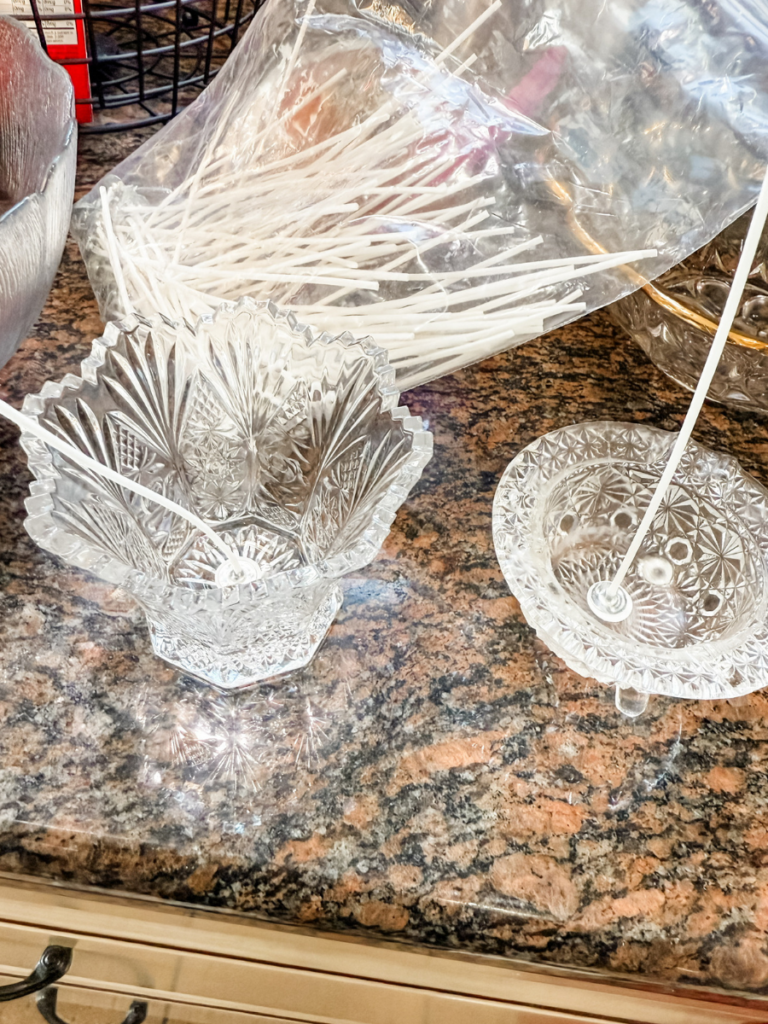
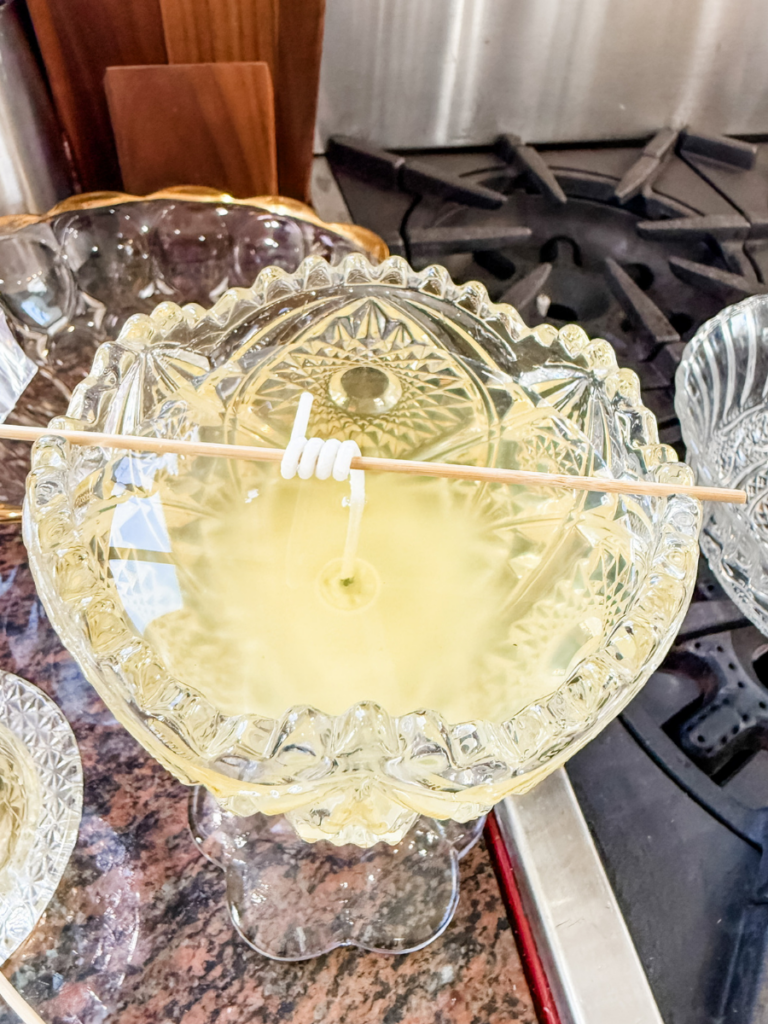
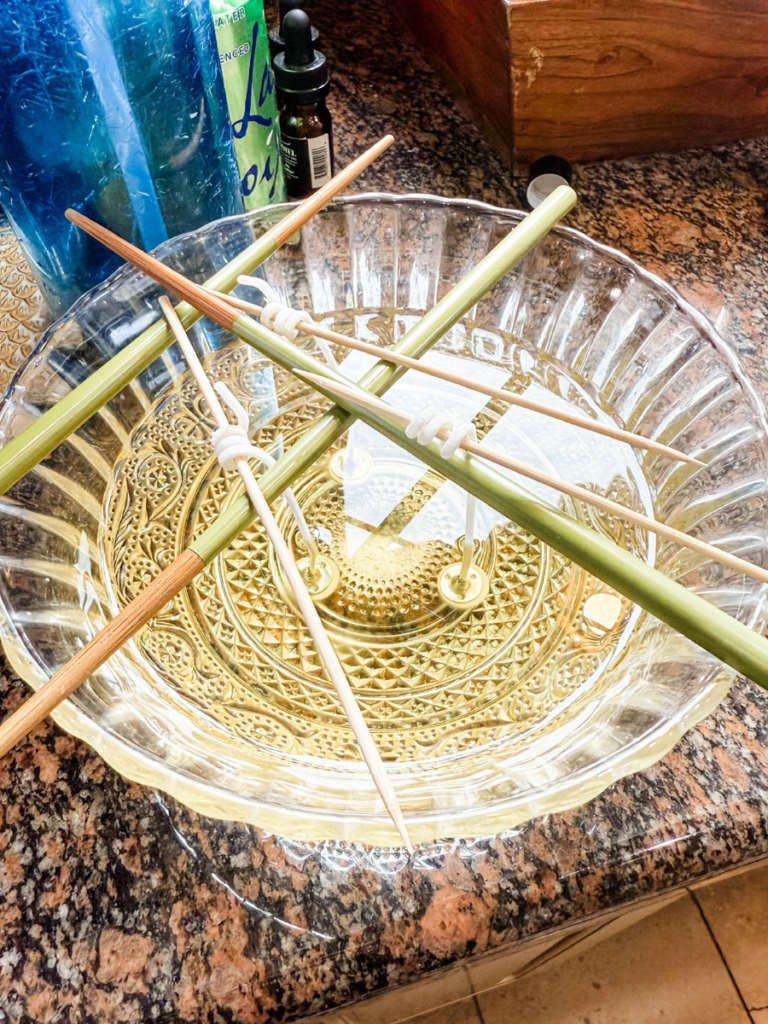
Using wick stickers or hot glue, secure the wick to the bottom center of the bowl. Press firmly to ensure it stays in place. For stability, wrap the top of the wick around a skewer or chopstick and balance it across the bowl’s rim. You’ll want to twist it like a pipe cleaner. This will keep the wick upright while you pour the wax.
Step 4: Melt the Wax
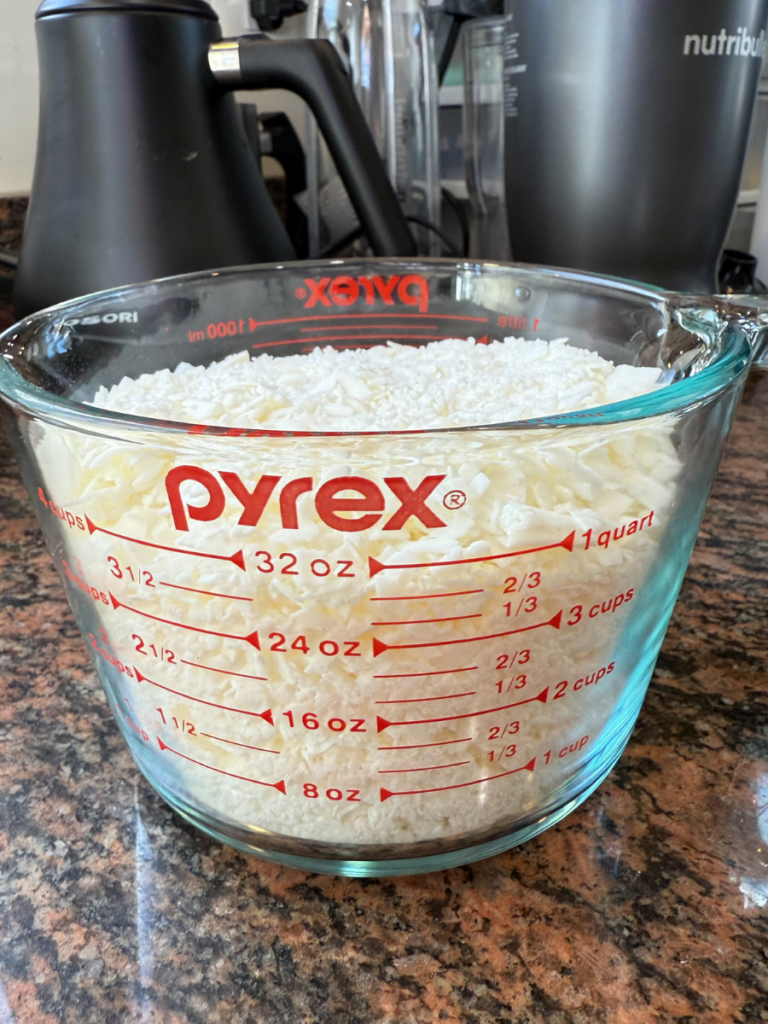
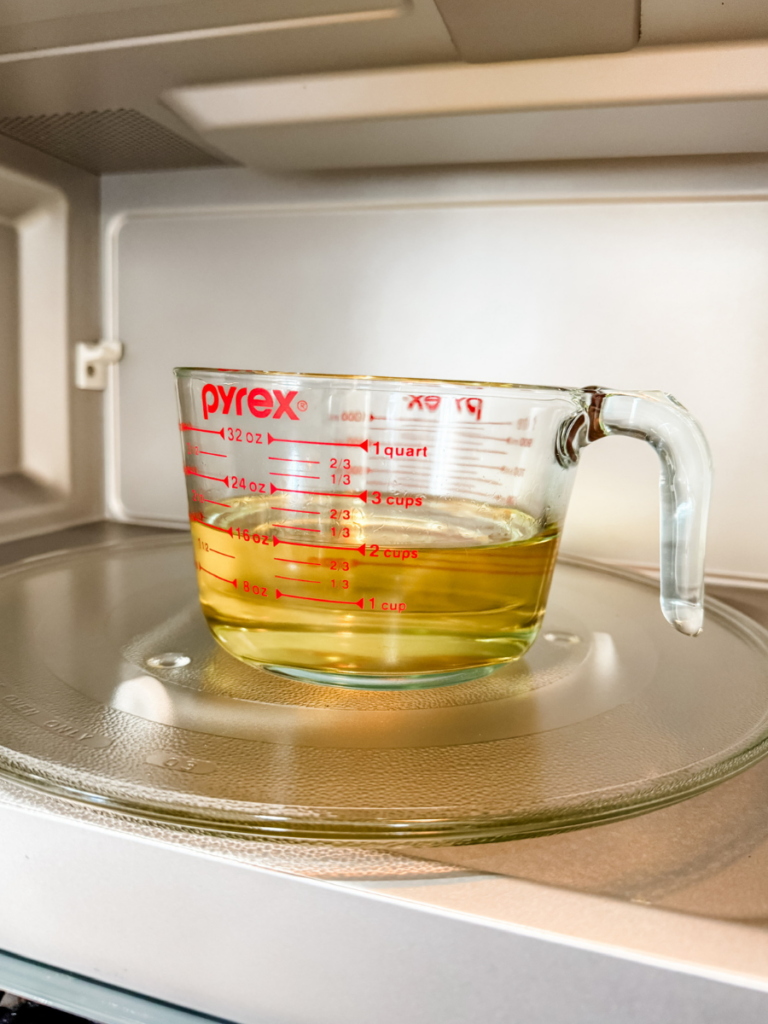
The next step is to melt the wax. You can use a double boiler on your stove, but I melted my wax in the microwave, and it worked perfectly. Slowly melt the wax, heating it in 30-second intervals and stirring in between. Be careful not to overheat the wax. You want to aim for a temperature between 120°F and 180°F.
Step 5: Add Color and Scent
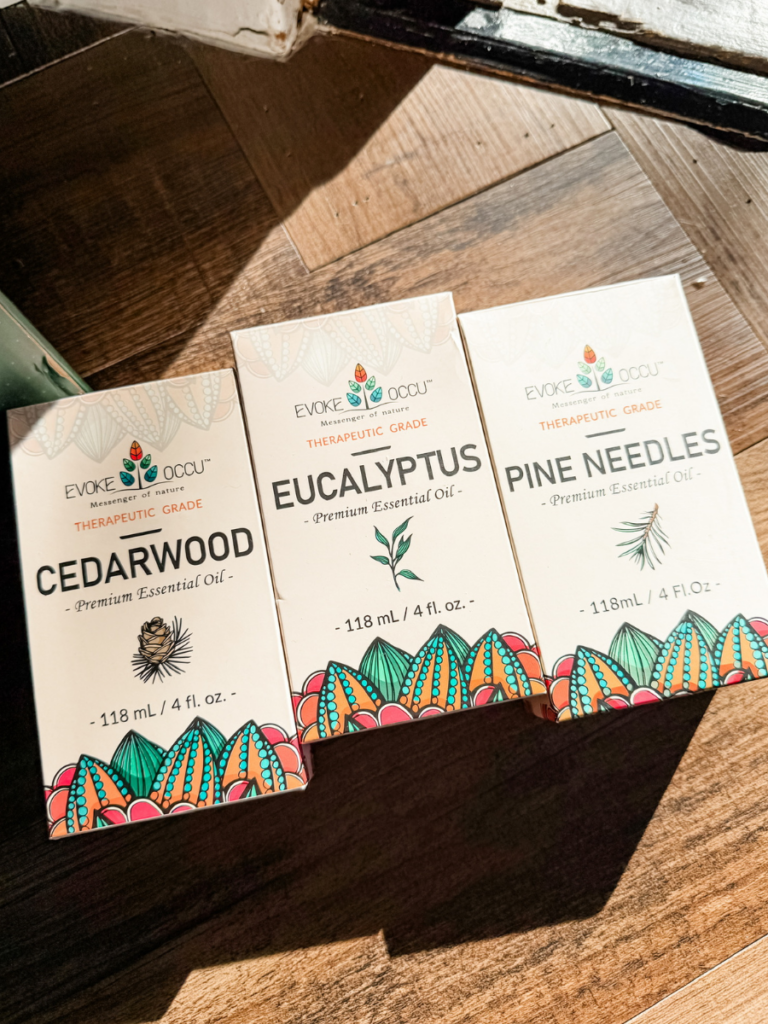
Once the wax is melted, you can customize it. Add a few drops of your favorite essential oils or candle fragrance for a pleasant aroma. Since we’re doing Christmas candle crafts, I purchased these essential oils from Amazon in scents like cedarwood and pine needles, which are perfect for the holiday season. Here are my favorite non-holiday scents that will make your home smell like a luxury hotel!
Hotel Ritz Carlton Inspired Scent
I made white candles, but if you want colored candles, stir in a small amount of wax dye or crayon shavings until fully blended.
Step 6: Pour the Wax
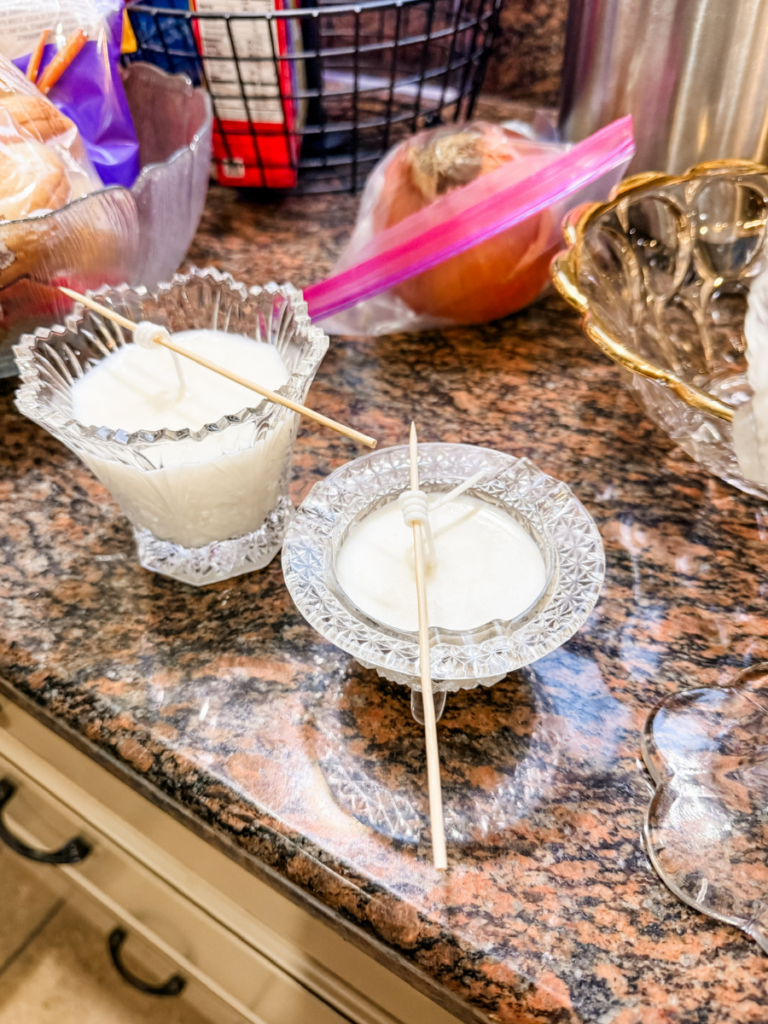
Carefully pour the melted wax into your prepared container, leaving about half an inch of space at the top. Hold the skewer or chopstick in place to keep the wick centered. Let the wax cool and solidify at room temperature. This can take several hours, depending on the size of the bowl.
In the second photo, you can see that I had to get pretty creative with chopsticks to stabilize the multi-wick candle.
A great way to add even more festive cheer is to add seasonal items like evergreen sprigs and red berries with the hot wax.
Step 7: Trim the Wick
Once the wax has fully hardened, trim the wick to about 1/4 inch above the top of the candle. This ensures a clean burn without excessive smoke.
Step 8: Enjoy or Gift Your Christmas Candle Crafts
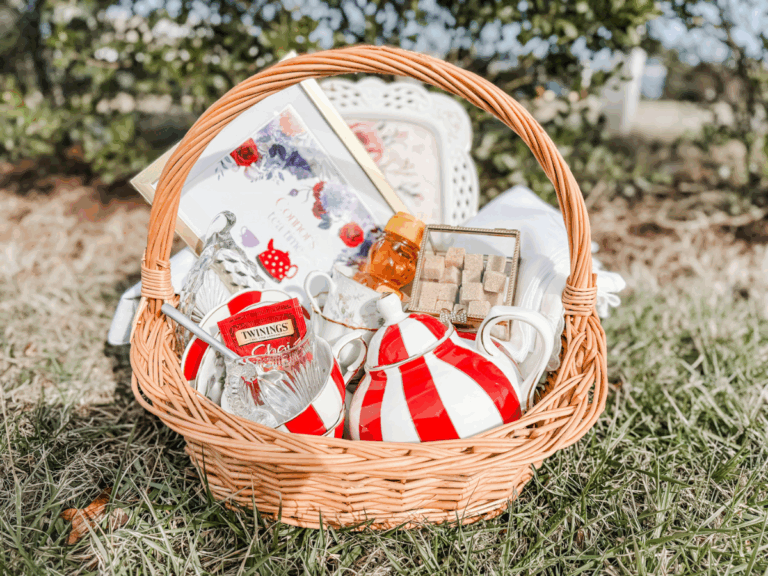
Your easy DIY Christmas candle crafts are ready to gift! These candles add a warm, cozy glow to any space and make thoughtful handmade gifts. Wrap them with a bow or add them to a gift basket with a note for a personal touch.
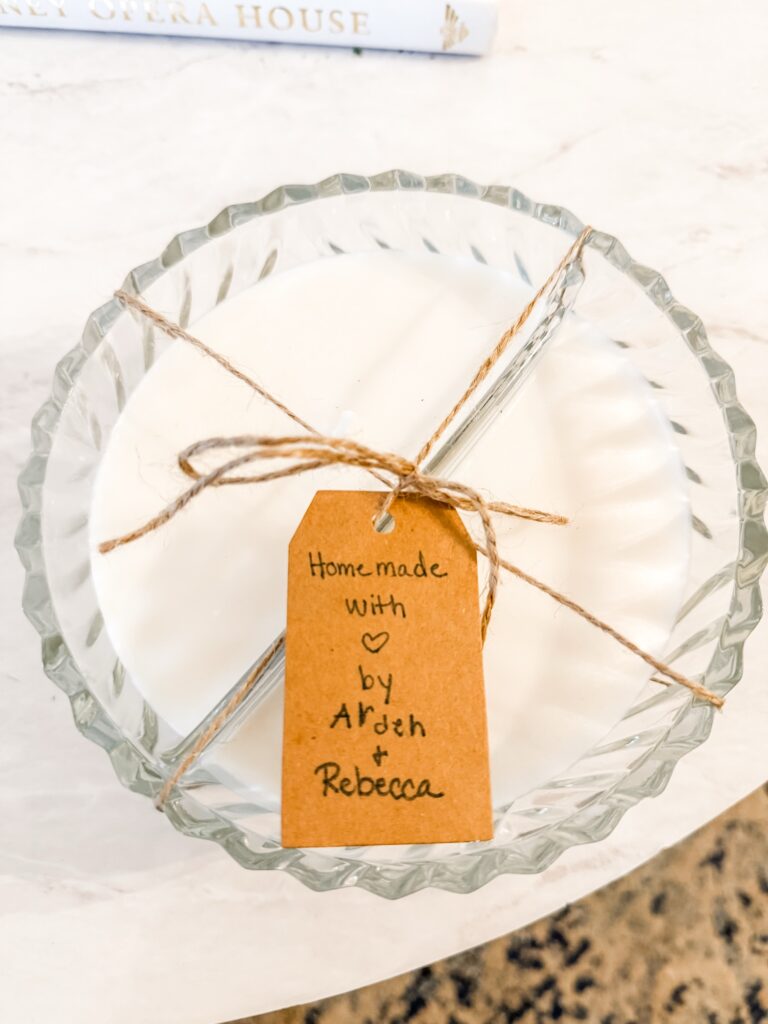
Nothing is more special than working hard on a DIY gift and seeing the joy in someone’s face when they open it! DIY projects made from gently used items are refreshing in a world of overconsumption and waste. If you’re looking for a creative and rewarding activity that breathes new life into thrifted treasures, you’ve found it.
Send me a picture if you make your own!

