DIY Peel and Stick Herringbone Flooring [For a Fraction of the Price]
Are you dreaming of a high-end flooring solution that won’t break the bank? While you might expect flooring to break the bank, I installed this peel and stick herringbone flooring on a budget!
I’ve always dreamed of herringbone flooring throughout my home. However, my dream quickly turned into a nightmare when we got a quote for 60k just for 3 rooms to install oak flooring in a herringbone pattern.
It was at that exact point that I decided I wasn’t going to give up my dream, and I didn’t need a huge budget to make this herringbone design dream happen! My original hardwood floors wouldn’t need to be refinished. I could lay these herringbone vinyl wood planks right over the top of them.
This DIY renovation project is an excellent choice if you’re looking to transform any room into a sophisticated space. Plus, it will add value and charm without the hefty price tag.
In this blog post, we’ll explore how to achieve this luxurious look on a budget.
For this project, all you need are 3 things– seriously:
- The Flooring- I used the band Style Selections in the color Antique Woodland Oak from Lowes
- Heavy Duty Box Cutter.
- Laser Level
Disclosure: Affiliate links may be used in this post, at no cost to you.

Why Peel and Stick?
Peel and stick flooring is also known as self-adhesive vinyl plank flooring. It has become increasingly popular in recent years for its affordability, ease of installation, and durability.
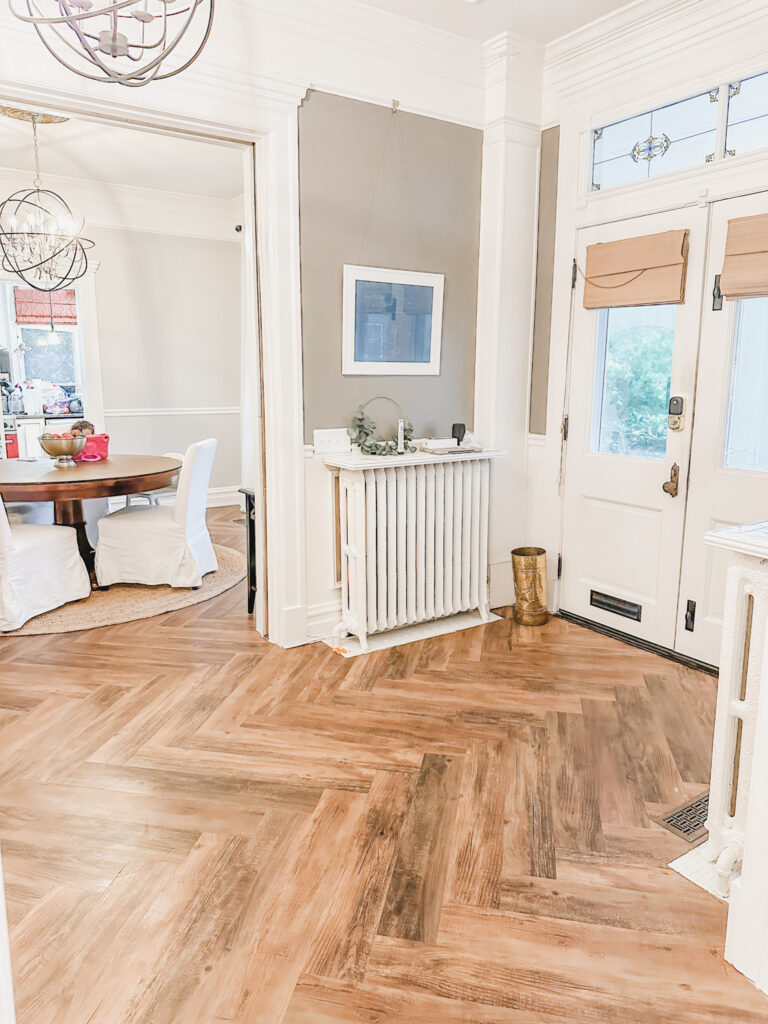
Related: Thrifty Kids Playroom Makeover On a Budget
Unlike traditional flooring options, such as hardwood or tile, peel-and-stick flooring requires minimal preparation and can be installed over existing surfaces like concrete, plywood, or even old vinyl or wood flooring with no demo!
Why Herringbone?
The name “herringbone”, especially when used as a flooring pattern, is often associated with high-end luxury. If luxury is what you’re going for, this classic zig-zag pattern will create a classic look that will last for years to come.
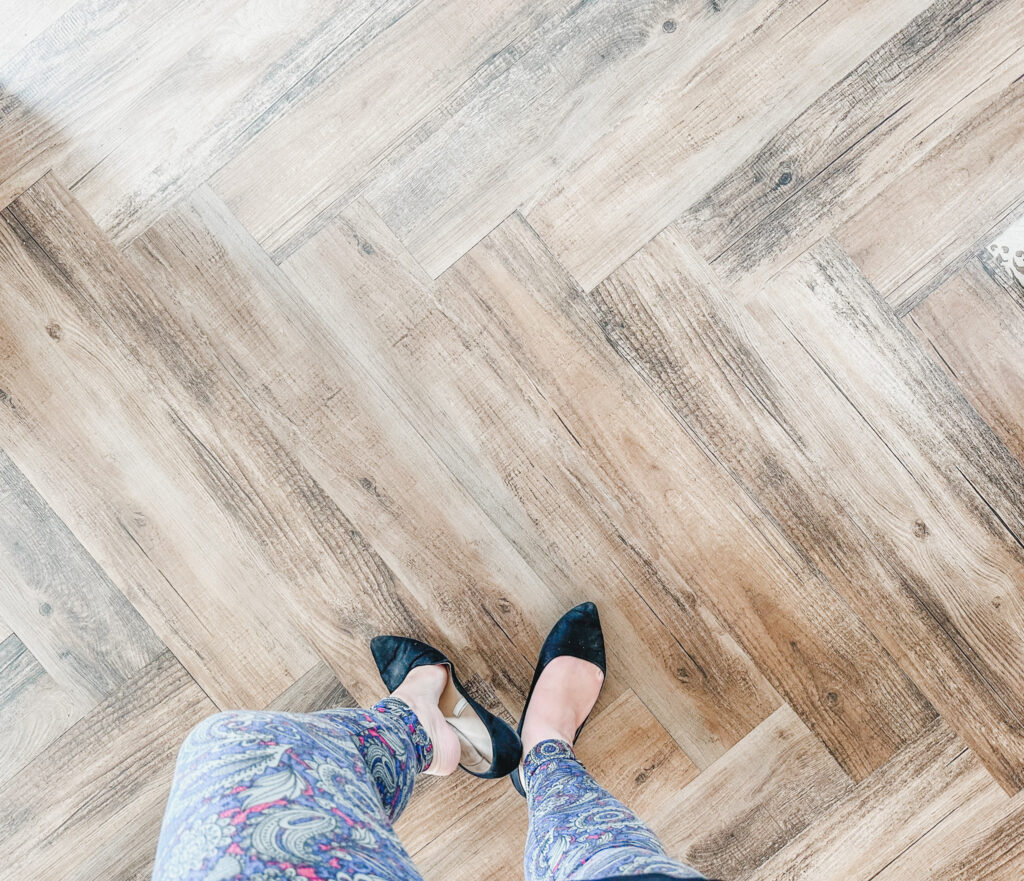
At first glance, its traditional, yet contemporary design adds visual interest and sophistication to any space, and for us it was the right choice! Whether you have large or small spaces to cover, this is a perfect match for the experienced and beginner DIYer.
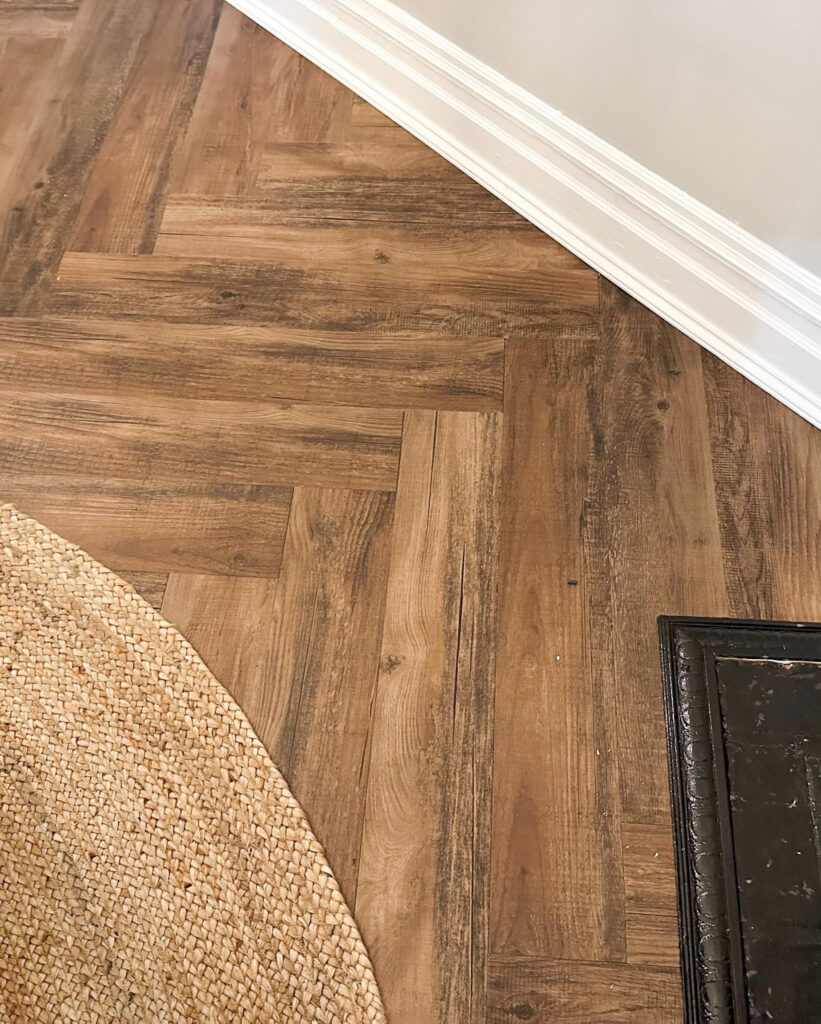
By combining peel and stick flooring with a herringbone layout, you can achieve the look of expensive hardwood or tile at a fraction of the cost. Plus,peel and stick tiles are incredibly versatile. This allows you to customize the color and texture to suit your personal style and décor preferences.
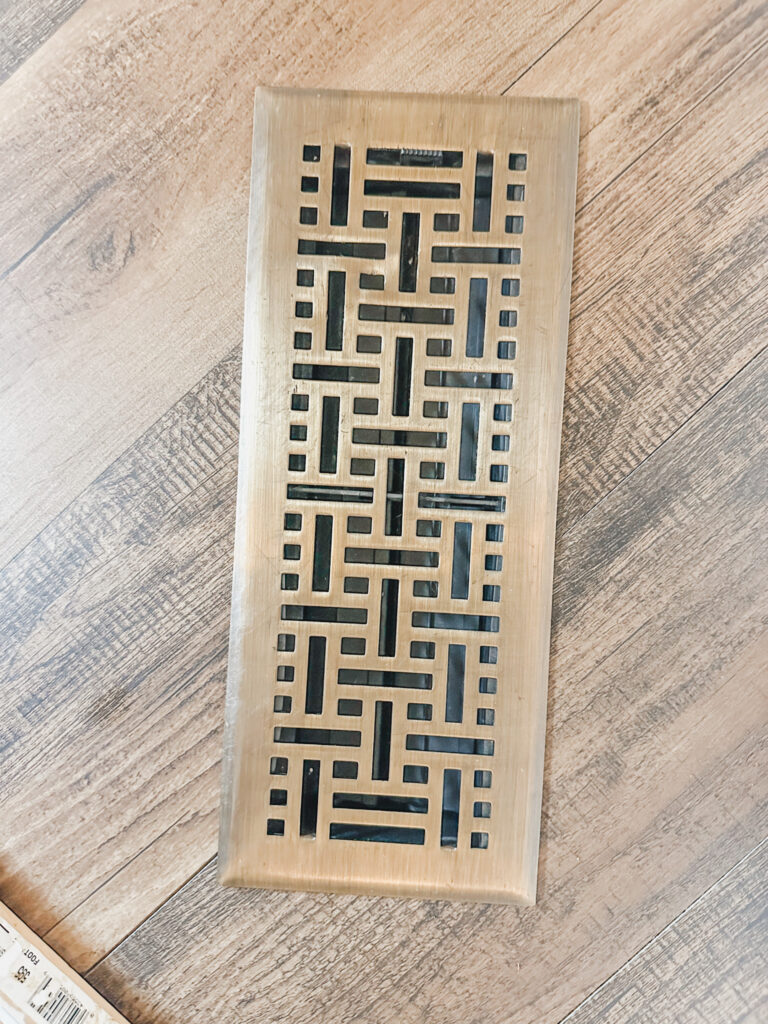
A Step-by-Step Guide to Installation:
- Prepare the Surface:
Thoroughly clean and dry the existing floor surface to ensure proper adhesion. Depending on your type of flooring, you may need to apply a floor primer to improve the bond between the peel and stick tiles and the subfloor. Remove your quarter round to get that custom look! - Plan Your Layout:
Determine the starting point for your classic herringbone pattern (typically the center of the room). Keep in mind the direction of the planks and the layout of the room. Use the laser level to create reference lines for alignment. - Dry Fit and Cut the Planks:
Measure and cut the vinyl planks to fit the herringbone pattern. A T-square or straight edge can help ensure clean, precise cuts. For the herringbone pattern, each plank will need to be cut at a 45-degree angle. - Begin Installation:
Starting at the sharp point of your reference line, peel off the backing of the first plank and carefully place it along the laser line. Use a rolling pin or flooring roller to press the plank firmly into place. Or, if you don’t have the right tool, just walk on it to make sure it’s stuck down. - Continue the Pattern:
Work row by row, alternating the direction of the planks in a similar pattern to create this traditional look. It is always a good idea to use the laser lines as guides to maintain alignment and spacing between the herringbone planks. - Trim and Fit:
As you reach the edges of the room or obstacles like door frames, trim the planks to fit using a utility knife or vinyl cutter. Ensure a snug fit by measuring and cutting each piece accurately. - Finishing Touches:
Once the entire floor is covered, go over the surface with a flooring roller to ensure all planks are securely bonded to the subfloor. Trim any excess material along the edges for a clean finish. Add your trim back on, and notice the significant difference you have created in your space.
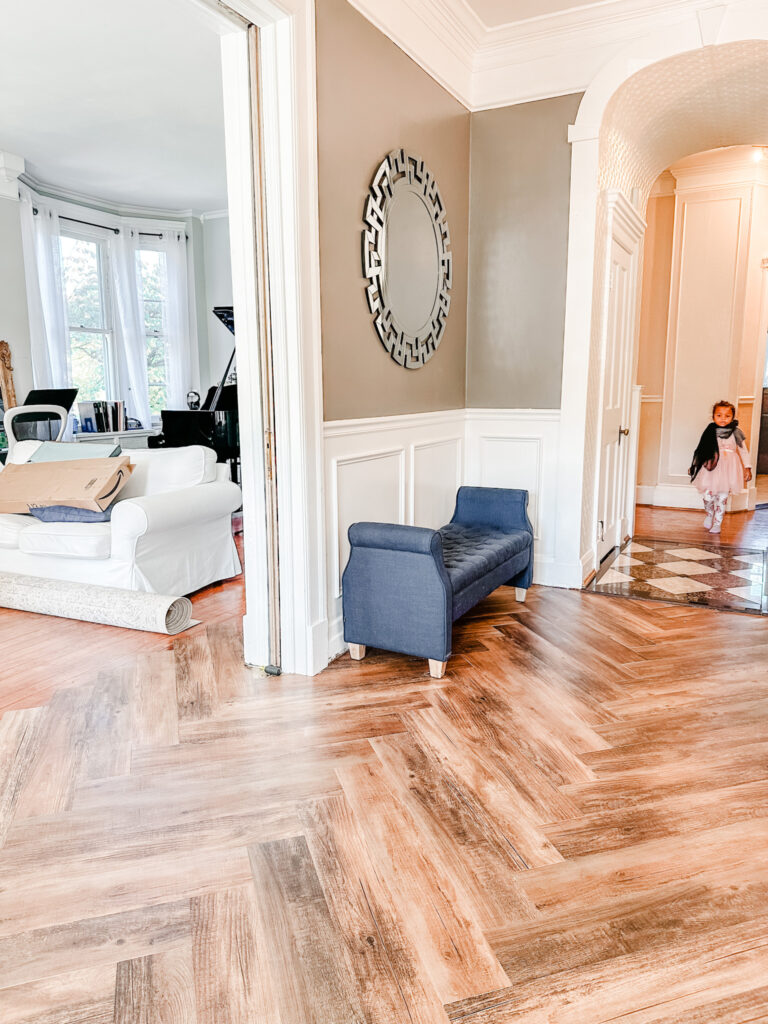
Final Thoughts on Your Herringbone Flooring Install:
With the installation complete, step back and admire your gorgeous new herringbone floors. Laying the flooring in a unique pattern is one of the biggest key differences to elevating your space. Whether you’re upgrading a kitchen, bathroom, or living area, your new peel and stick flooring adds value and character. Add interest to your space at a fraction of the cost of traditional materials.
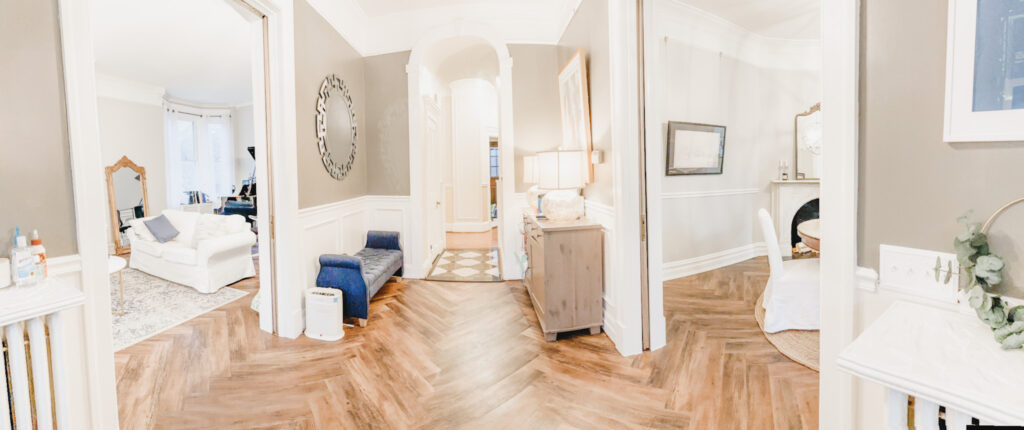
With a little creativity and DIY spirit, you can achieve the high-end look you’ve always wanted without breaking the bank. Have fun renovating with this peel-and-stick herringbone flooring!





One Comment
Comments are closed.