Easy Wall Trim Ideas to Elevate Any Room [DIY]
When it comes to transforming the look of a room, few DIY projects pack as much punch as adding wall trim. Wall trim adds architectural interest and a touch of elegance and sophistication to your space. The best part? You don’t need to be a woodworking pro or own expensive tools to achieve professional-looking results. Miter shears, a compact and affordable tool, make tackling wall trim projects easy. Let’s dive into some simple yet stunning wall trim ideas—including chair rails, picture rails, wainscotting, and box trim—and how each can make your room feel elegant and homey.
Use Miter Shears to Bring Your Wall Trim Ideas to Life
Miter shears are a game-changer for DIYers. Unlike traditional saws, miter shears allow you to cut precise angles in lightweight trim materials such as PVC, foam, or wood molding. They’re perfect for those who want to create visual interest while avoiding the intimidation of power tools. With miter shears, you can:
- Cut clean and accurate angles for seamless joints.
- Work quietly without the noise and dust of a saw.
- Easily handle and store a lightweight tool.
Whether you’re new to DIY or looking for a faster, safer way to work, miter shears are your go-to tool for wall trim projects.
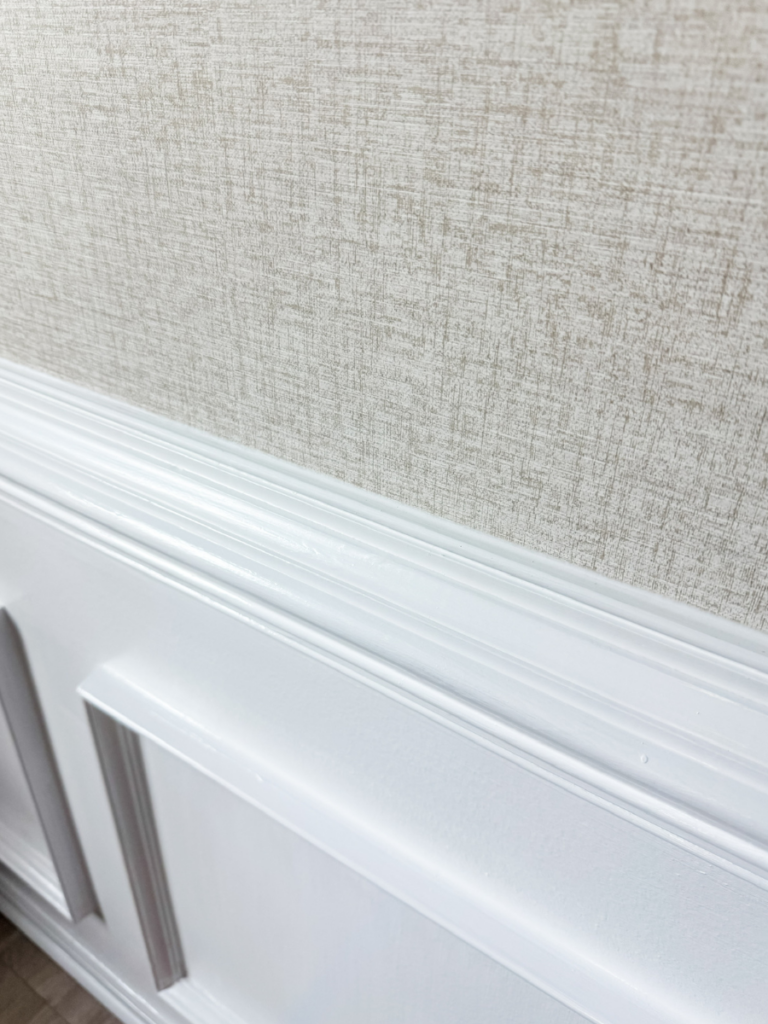
Chair Rail Trim: Add Definition to Your Walls
Chair rails are a classic way to divide a wall horizontally, typically about one-third of the way up from the floor. They’re both decorative and practical, traditionally used to protect the walls from scuffs and scratches in a formal dining room.
How to Install a Chair Rail:
- Measure and Plan: Use a tape measure to mark the height where you want the chair rail. A common height is 32–36 inches from the floor, but feel free to adjust based on your room’s proportions. For example, you may want to make yours higher if you have high ceilings.
- Choose Your Trim: Lightweight wooden or PVC trim works best for miter shears. Simple profiles work best for modern styles, while a traditional home may look good with more ornate chair rail molding.
- Cut the Angles: Use your miter shears to cut the trim at 45-degree angles for corners. Test the fit of the pieces before attaching them. If you are meeting two pieces in the middle of a wall, a 45-degree angle will more easily hide the joint.
- Attach the Trim: Apply a bead of construction adhesive to the back of the trim, then press it onto the wall. Secure with finishing nails for extra stability.
- Fill and Paint: Fill gaps and nail holes with wood filler, then sand smooth. Add caulk on the top and bottom for a seamless look. Finish with paint. I prefer a high gloss for all of my trim.
A chair rail can visually elevate a plain wall, and you can enhance the effect by painting the areas above and below in contrasting colors.
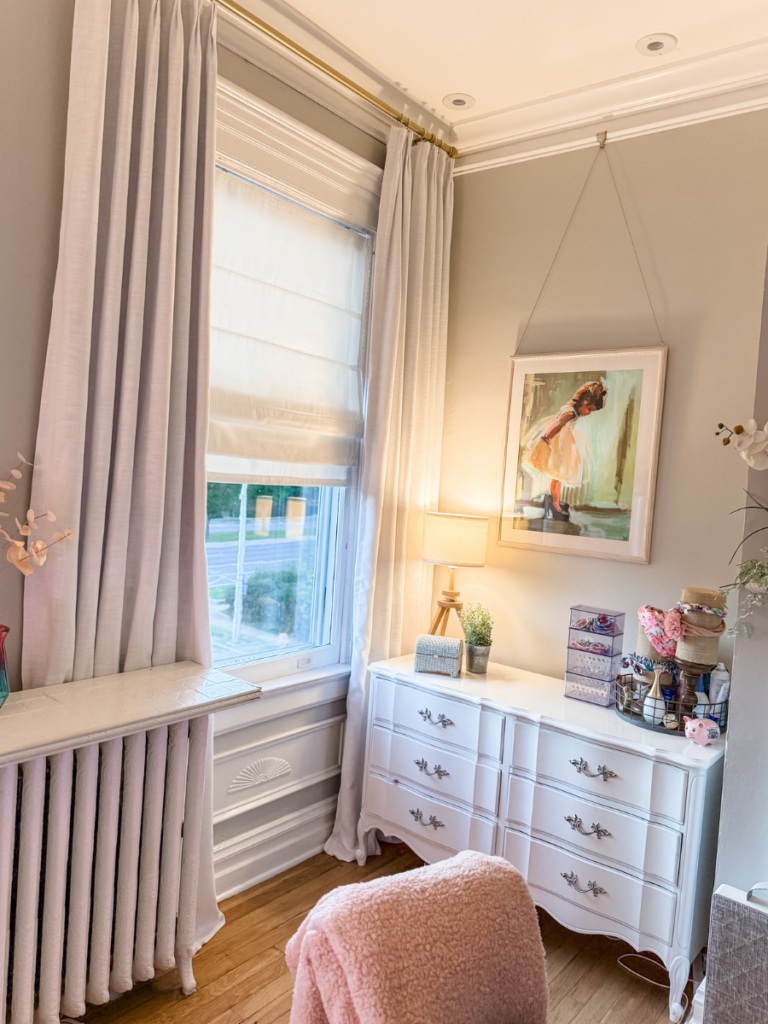
Picture Rails: Functional Elegance
Picture rails are a timeless trim option that allows you to hang artwork without damaging your walls. Installed higher up on the wall, they add elegance while offering a practical solution for showcasing your favorite pieces. Art hung from picture rails will elevate your space, giving an art gallery appearance.
How to Install a Picture Rail:
- Determine Placement: Picture rails are usually placed 12–18 inches below the ceiling, 4-6 inches below the crown molding, or aligned with the top of a door frame.
- Prepare the Trim: Select a molding style with a lip that can hold hooks. Miter shears make it easy to cut precise angles for corners.
- Install: Use adhesive and nails to secure the trim along a straight line marked by a level or a chalk line. It’s very important to secure your trim work well as it will be holding the weight of framed art.
- Finish: Fill the nail holes, sand, and paint or stain the trim to match your decor. Typically picture rail is painted to match other moldings in your space.
Pairing a picture rail with hanging cords and hooks allows you to switch out artwork easily, adding versatility to your space. Picture rail trim looks great in all interior spaces. I have picture railing all throughout my home and I love it!
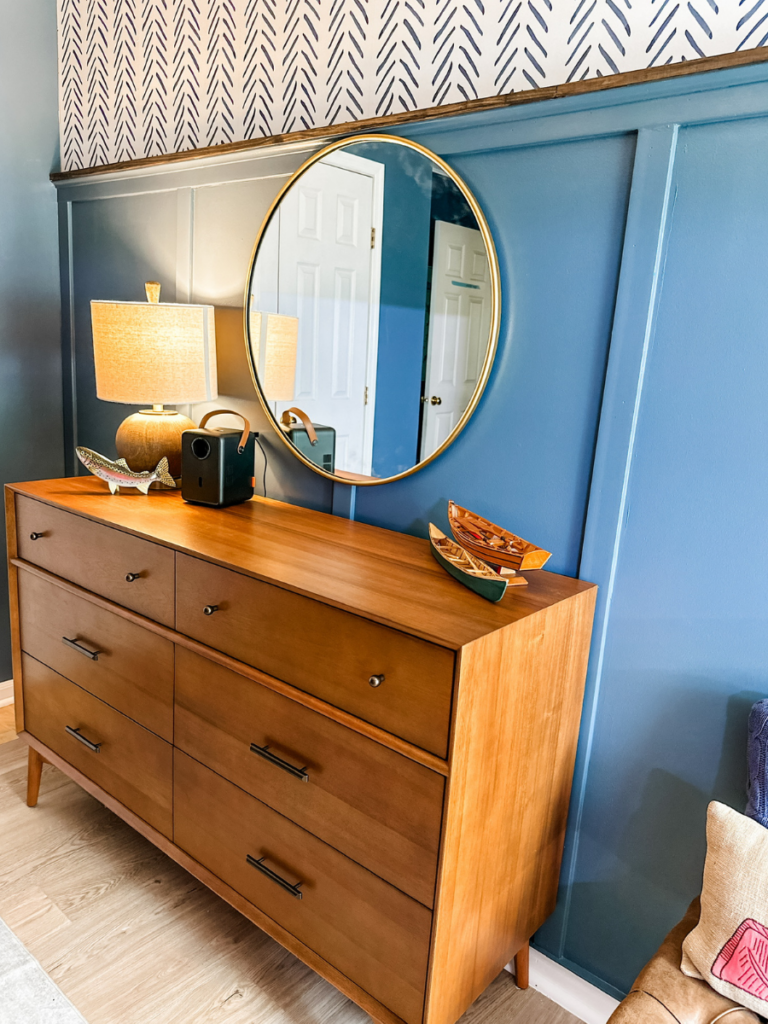
Wainscoting: Timeless Sophistication
Wainscoting involves adding wall panels or trim to the lower portion of a wall, creating texture and depth. It’s a fantastic way to enhance many different styles of interiors.
How to Install Wainscoting:
- Plan the Layout: Decide how high you want the wainscoting to go. Standard heights range from 36 to 42 inches. Mark the top edge with a chalk line.
- Install Base Trim: Start by attaching a baseboard at the bottom of the wall. Use miter shears to cut the ends at 45-degree angles for corners.
- Add Vertical Battens: Measure and cut vertical pieces of trim to create panel frames. Space them evenly, typically 12–16 inches apart.
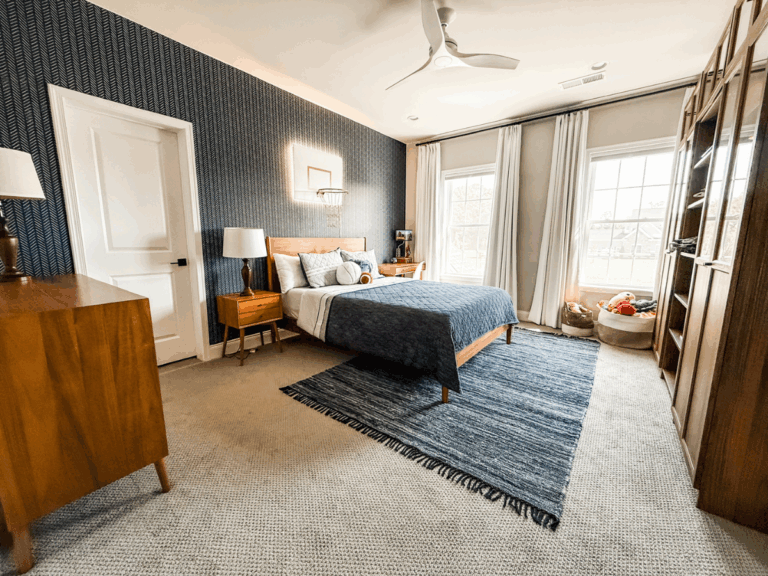
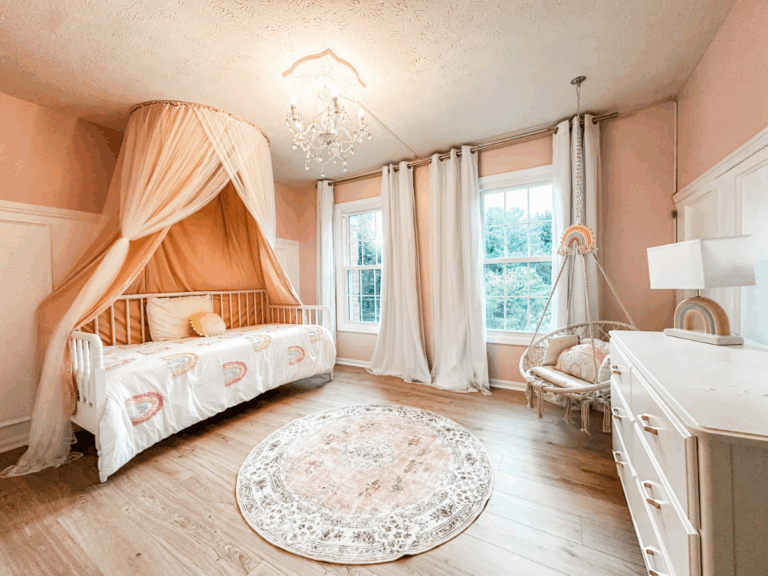
- Top Rail: Attach a horizontal piece of trim at the top to complete the frame. If you want to take it a step further, you can add another piece of trim to create a little shelf like I did here in Coen’s room.
- Paint: Fill gaps and nail holes, then paint the wainscoting in a color that complements your room.
Wainscoting can make small spaces feel taller and large living spaces feel cozier. Experiment with different panel sizes and styles to customize the look.
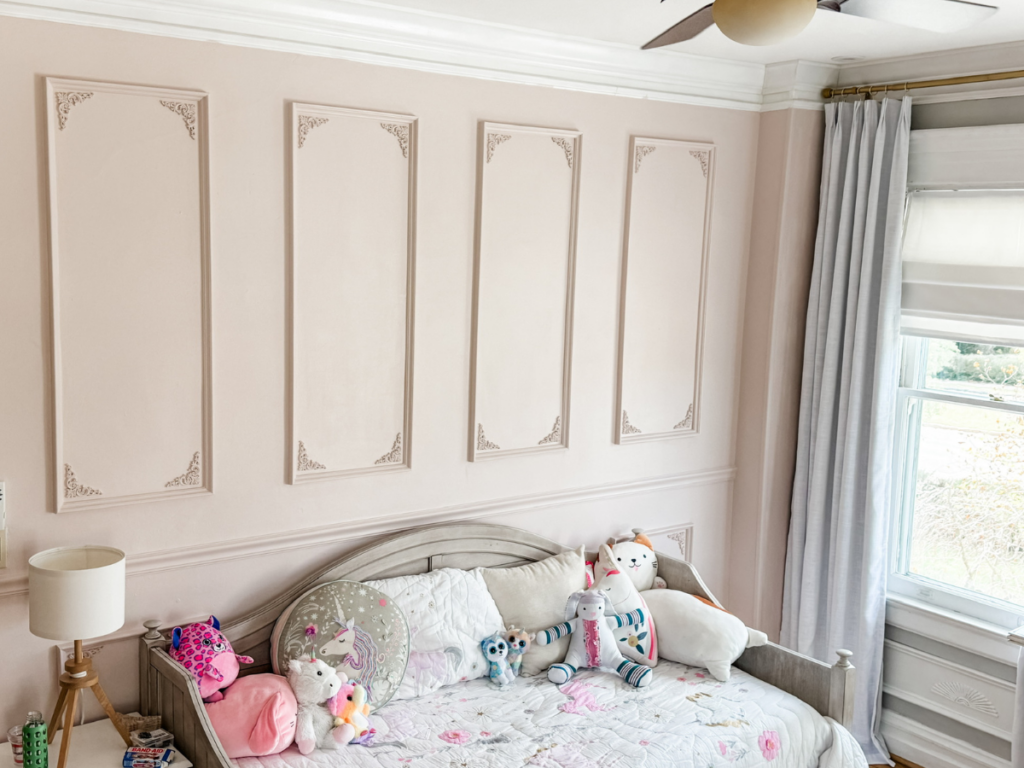
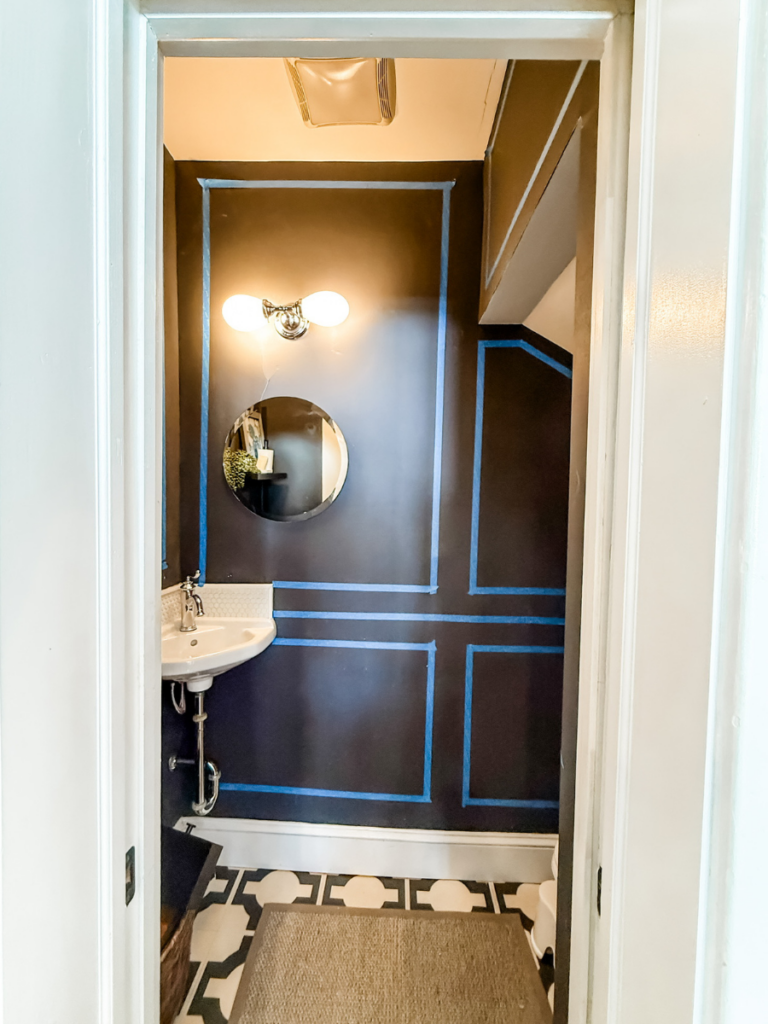
Box Trim: Create Modern Elegance
Box trim, also known as picture frame molding, is a versatile option for creating geometric patterns on your walls. And, it’s one of my favorite wall trim ideas! It’s perfect for accent walls or adding interest to plain spaces. Common in historic homes, box trim has been showing up as a popular decorative wall trim in homes of all different styles.
How to Install Box Trim:
- Design Your Layout: Sketch out your design directly on the wall using a pencil and a level. Decide on the size and spacing of the boxes. Your space will dictate how many boxes and what size you can use.
- Cut the Trim: Miter shears make it easy to cut 45-degree angles for clean, professional-looking corners.
- Attach the Trim: Use adhesive and finishing nails to secure the trim. Work one box at a time, ensuring each piece is level and square.
- Fill and Paint: Fill gaps and holes, caulk around all of the edges and then paint the trim and wall in the same color for a seamless look or contrasting bold colors for a statement.
Box trim adds depth and dimension to walls, making it a great option for creating a focal point in a living room, dining room, or master bedroom.
Take it a step further by adding decorative details in the corner. I found these wooden pieces on Amazon!
Tips for a Successful Wall Trim Project
- Start Small: If you’re new to DIY, begin with a single accent wall or a small room to build confidence.
- Measure Twice, Cut Once: Accurate measurements ensure a professional finish and reduce waste. This laser level has been a game changer for me!
- Practice with Scrap: Before cutting your decorative trim pieces, practice with scraps to get comfortable with the miter shears.
- Use Quality Materials: Lightweight and easy-to-cut materials like PVC or pine are ideal for beginners.
- Take Your Time: Precision is key to achieving clean, seamless results.
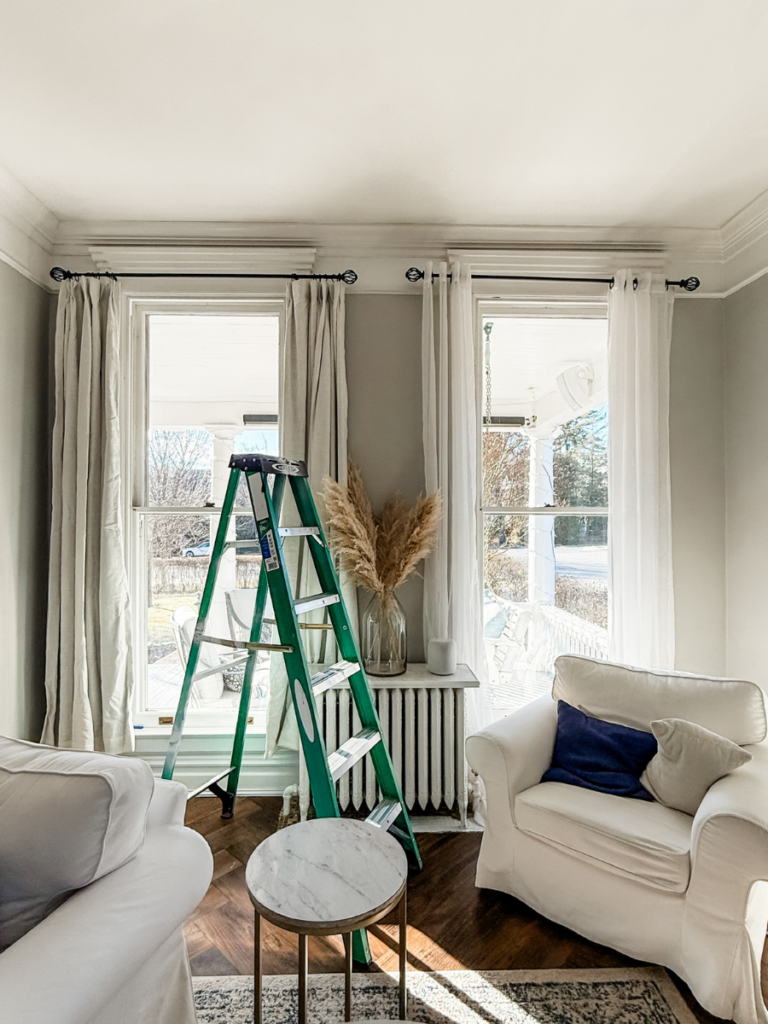
In the picture below, you can see how I’m laying out box trim in a client’s home right now! Once the mirror and light are moved, the trim will really make this room shine.
Final Thoughts
Adding interior trim is one of the easiest ways to elevate the look of any room. If you’re new to working with trim molding, I highly recommend purchasing miter shears and a laser level. They’re an effective tool and make the process very approachable. Whether you’re adding a chair rail for a touch of charm, a picture rail for functional elegance, wainscotting for timeless sophistication, or box trim for modern style, this DIY project can transform your space on a budget. Don’t let the fear of big tools hold you back from creating a home that reflects your style. Decorative wall moldings are a perfect first project for any homeowner just starting to personalize their space.
These wall trim ideas are especially perfect for anyone living in a brand-new home. New builds are known for lacking architectural details, and trim details are a great way to add. The right wall trim can add beautiful architectural details and decorative elements to a home that may be lacking them.
If you’re feeling stuck or need some advice on how to get started, contact me today to schedule a design consultation. I’d love to help you personalize your home!

One Comment
Comments are closed.