Easy DIY Upgrade for Your Kids Backyard Playhouse
I love renovating my Victorian home and making it feel warm and special for my family, but creating custom spaces for my kids around our home and property is one of my great joys! Today’s post is about how I DIYed a backyard playhouse on a budget during a pandemic!
In 2020, during the early days of COVID-19, our family (and many others) was working hard to create fun outdoor spaces where our kids could play and have fun. If we’re all going to be stuck at home, we might as well enjoy ourselves, right?
Around that time, we got a call from our neighbors who live five houses down. They had a swing set at their house that wasn’t getting used and wanted to know if we’d like to have it. As you know, I love breathing new life into old things (hence my entire house), so I was an immediate YES! Who needs a brand new backyard playhouse when you can have a fun project instead?
Disclosure: Affiliate links may be used in this post, at no cost to you.
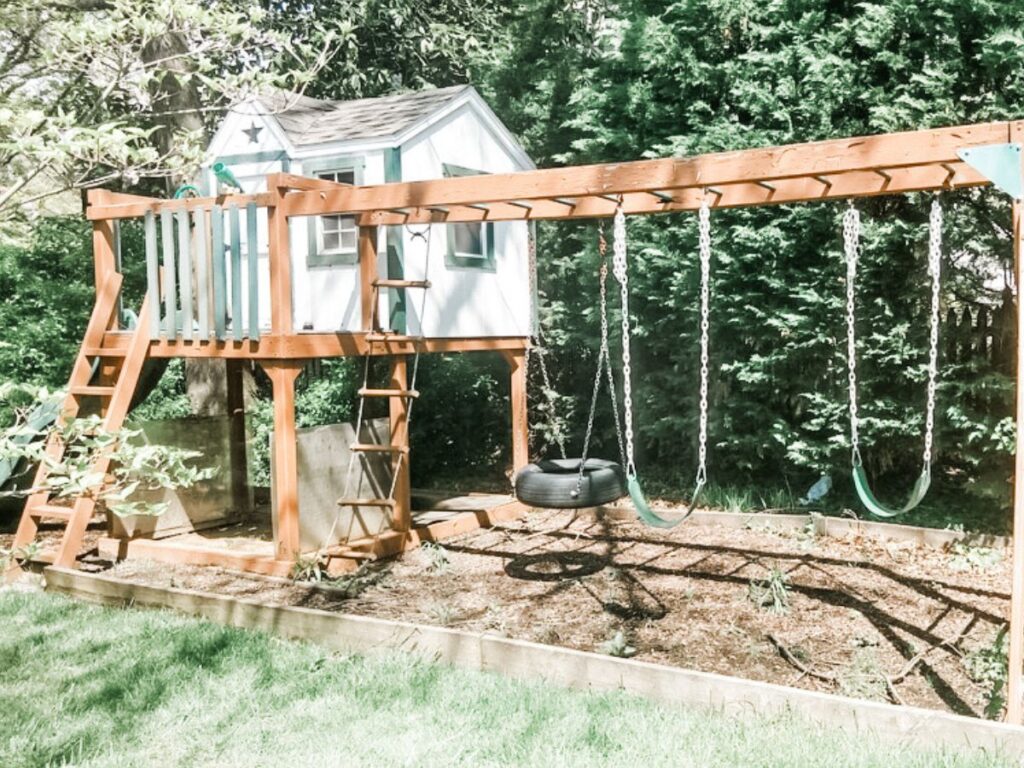
Now, I’m pretty handy, but moving an entire swing set with a playhouse down the street would be beyond my skill level. So I spoke with the amazing guys who maintain our lawn, and they offered to help!
The first step was to clear some space in our yard. They cleared some trees and pulled up a ton of ivy to reveal the perfect spot with plenty of natural light for our outdoor playhouse.
When it came time to move the swing set, they let me know it was too rotted to save, but they could bring the play house over; but we’d need to build a deck to support it. Had I built a deck before? No. Was I going to let that stop me? Of course not!
I was perfectly happy with this plan because we knew we could find another swing set if the kids wanted one. It was renovating the backyard playhouse that excited me the most.
Our playhouse project happened in two phases. The first phase occurred in 2020, and the second phase, which happened this year (2024), was more of an aesthetic update. I hope this project inspires you because it’s been one of my favorite projects in this house so far.
Phase 1:
Once the land was cleared, I needed a place to put the playhouse up off the ground so it wouldn’t rot. I went to Lowes and purchased some lumber to build a frame and screwed deck boards onto the top to create a flat surface for the playhouse to rest on.
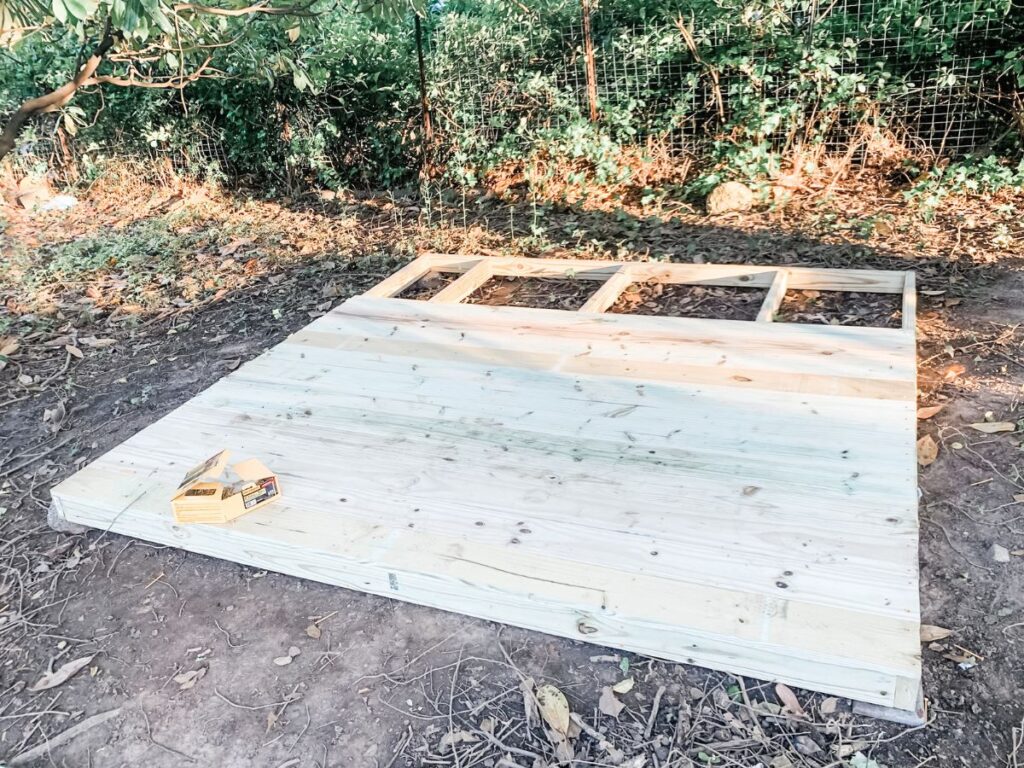
We used pressure-treated wood and then stained it to protect it from the elements as much as possible. The type of wood you use is important because some are more weather-resistant.
I had never built a deck like this before, but it was much easier than I expected. I recommend taking your material list to your local hardware store (I prefer Lowes). They can cut your lumber to size, so you won’t need to purchase any fancy tools.
Once I had everything I needed, I laid everything out and attached it all together with deck screws.
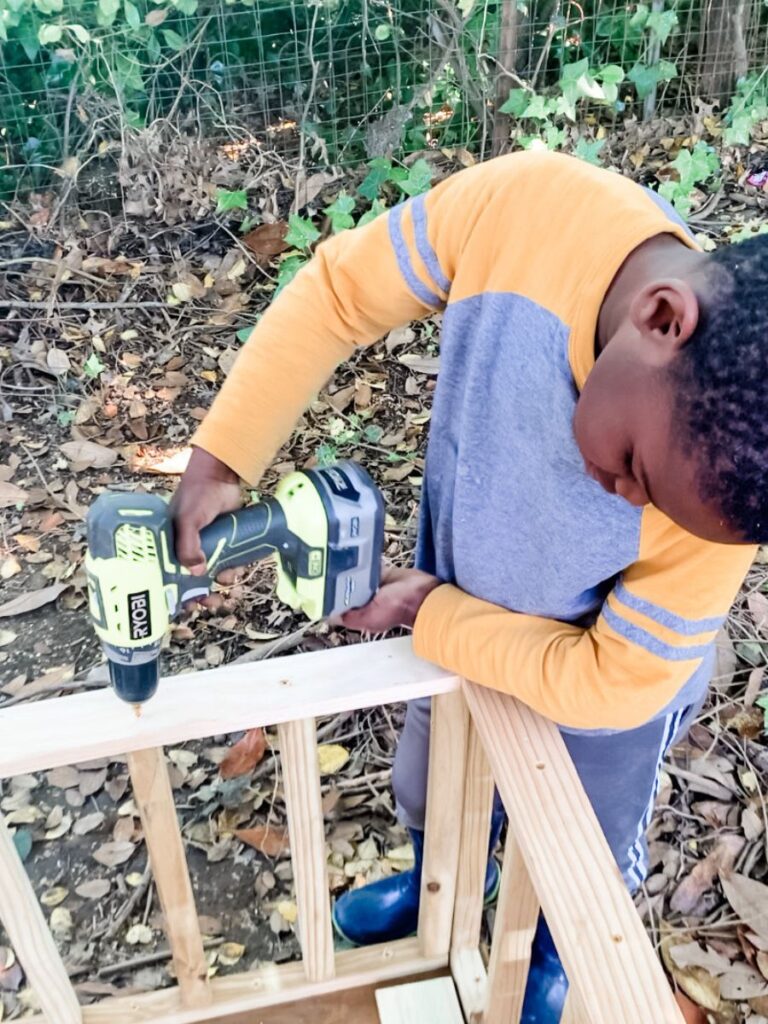
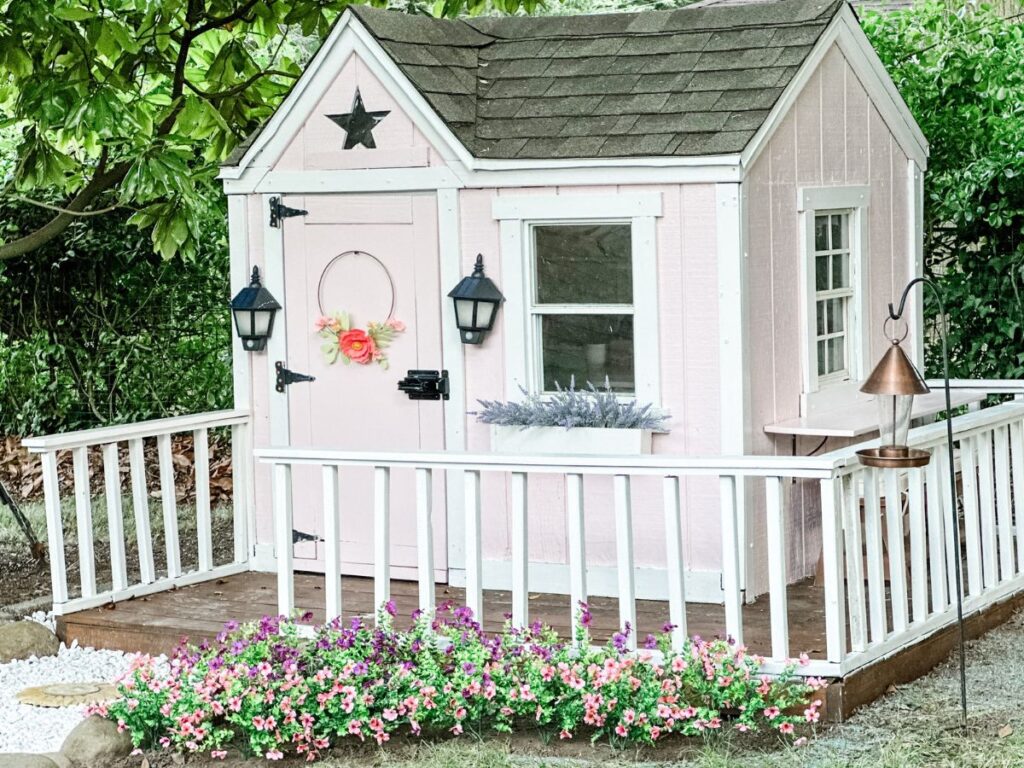
Then, we built this adorable little fence around the house, replaced some of the broken trim pieces, and gave the outside of the backyard playhouse a fresh coat of exterior paint. It was so much fun to involve my kids in this process.
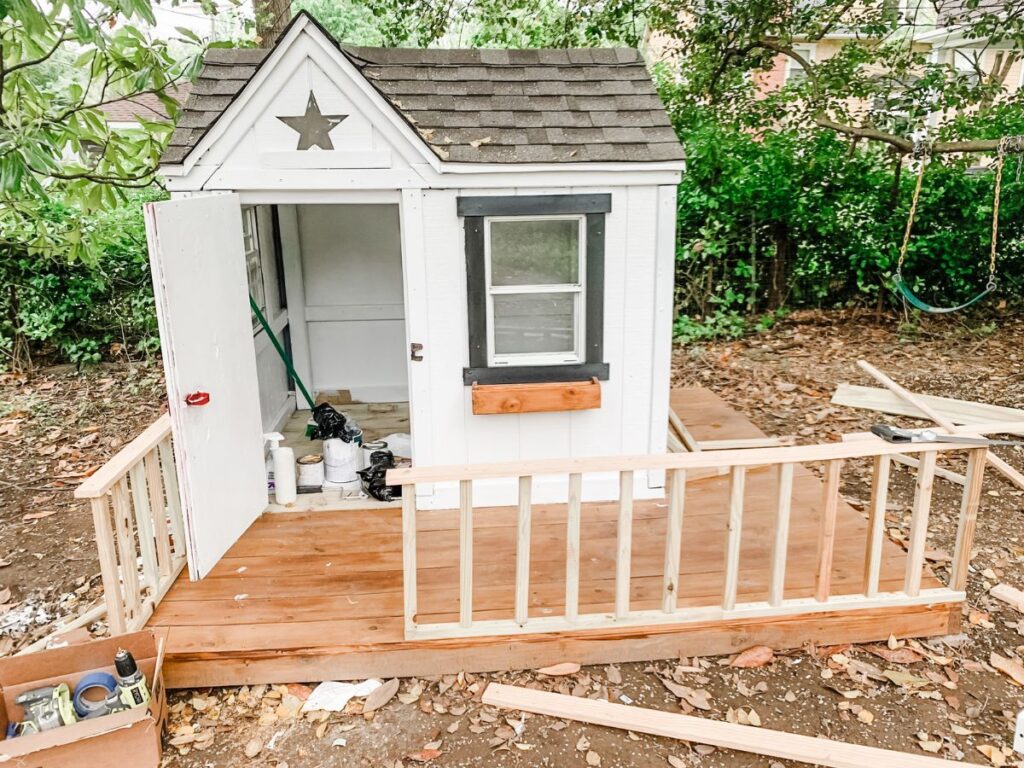
At this point in the project, we moved inside the playhouse. We’ll come back to the exterior design in a little bit.
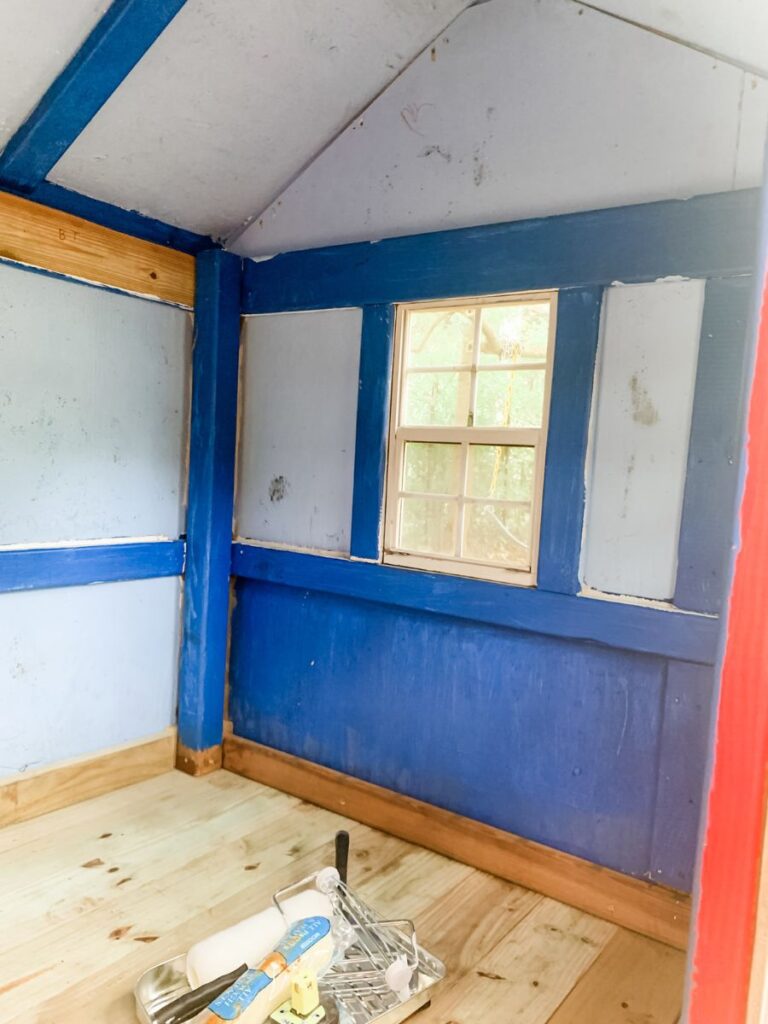
The inside of the playhouse needed some serious TLC. Thankfully, it was a small space, and pretty easy to clean it up. Don’t let the red and blue intimidate you! Colors are easy to change. I painted the whole thing a bright white to give us a blank canvas to work with.
Finally, it was my chance to shop for some special items to turn this DIY playhouse into a handmade hideaway.
I found a cute Ikea table and chairs on Facebook Marketplace for $20 and pushed it up against the rear wall to create a fun, multi-purpose space for my daughter to play with her art supplies or have a good time with her friends. Here’s a link if you’d like to purchase the table new.
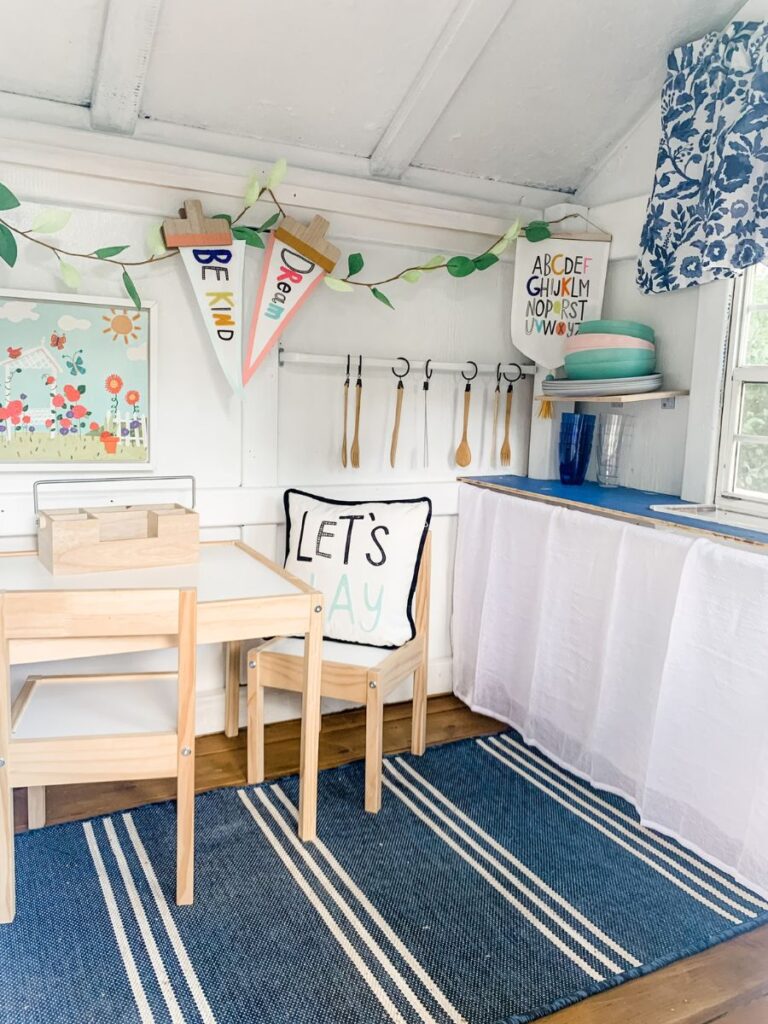
I highly recommend buying gently used items for your kids, especially for an outdoor play area. Most of the decor items were purchased in the $5 bin at Target, and some items were recycled from inside our home.
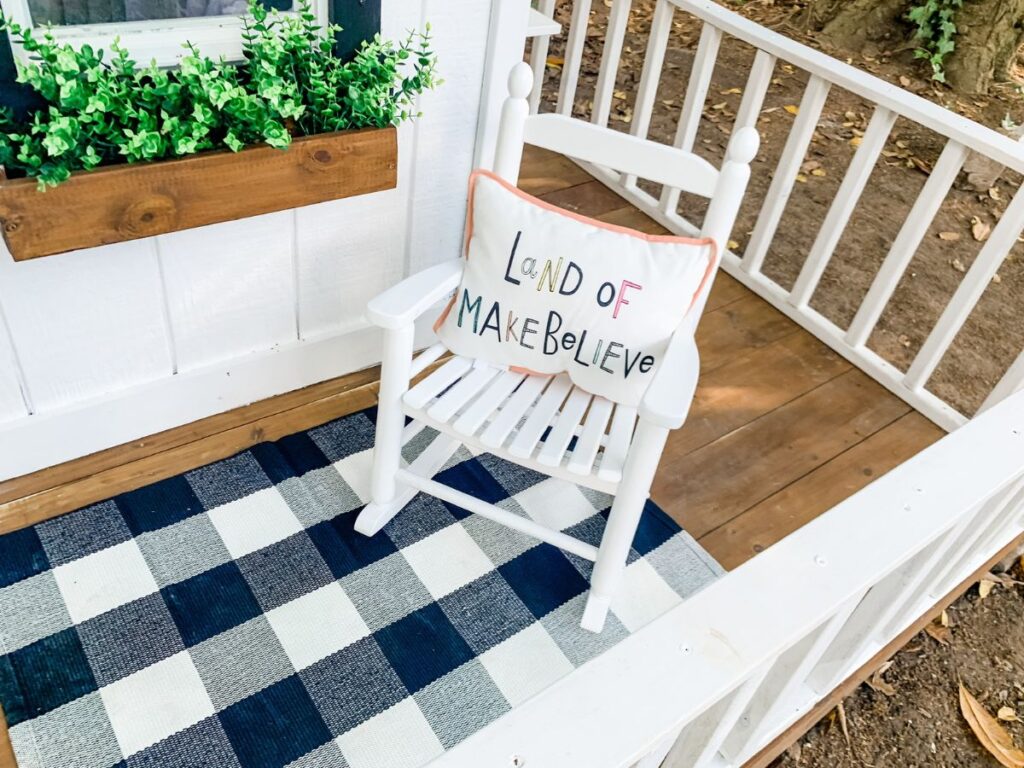
Moving back outside, I added this adorable flower box I built from scrap wood and filled it with fake flowers you could buy at any craft store. If you’re a big plant lover, you could definitely use real plants for your own little house. We also added a rocking chair to the front porch. If you want to add more furniture to the porch, you’ll need some extra space. Just make the deck a little larger to accommodate.
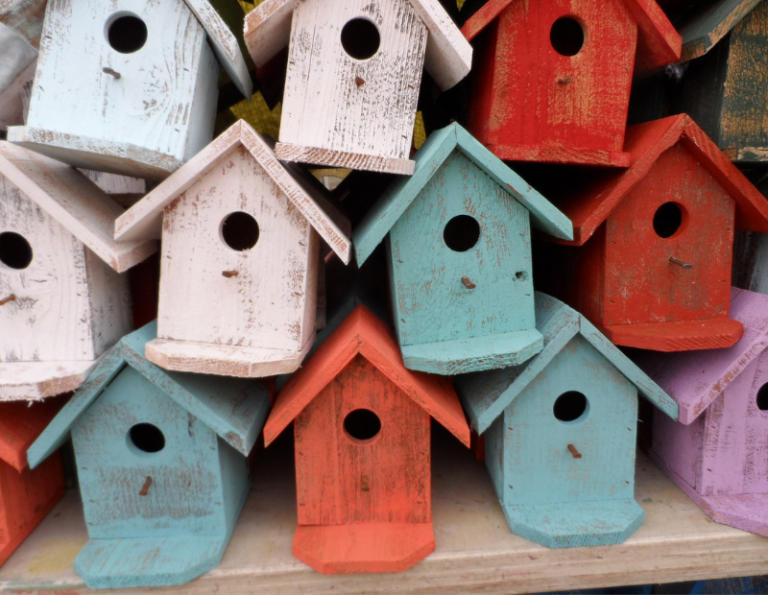
Finally, the exterior wouldn’t be complete without exterior lighting, an adorable gravel walkway, some birdhouses, a wreath on the door, and the item every children’s playhouse needs: a mailbox!
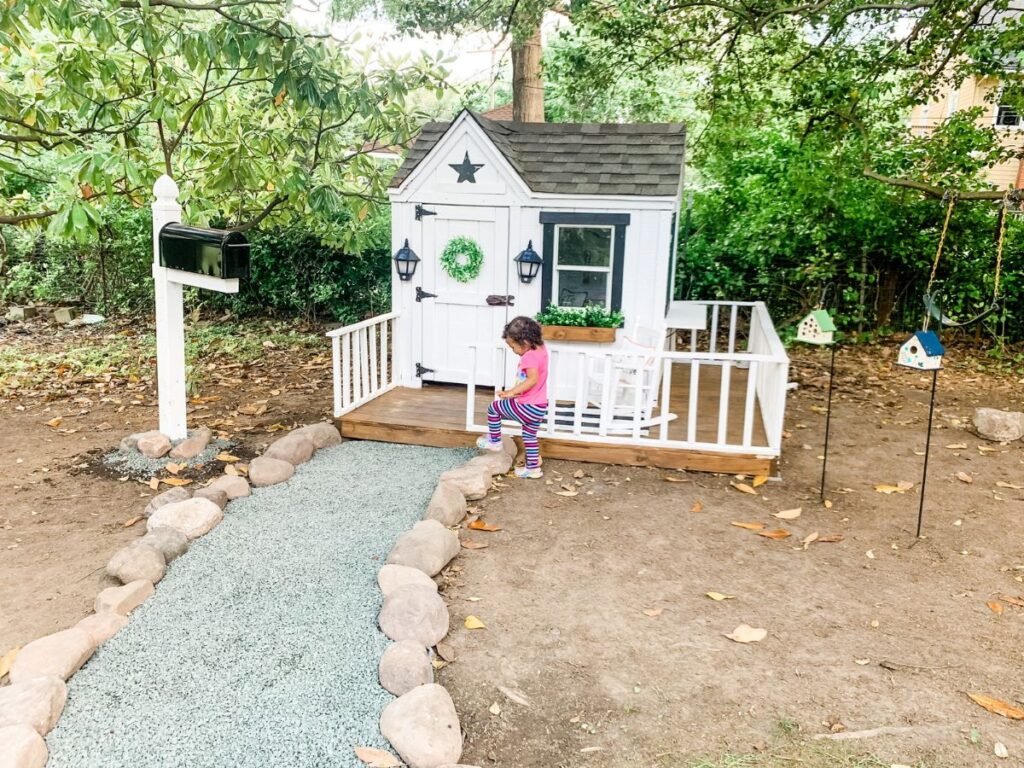
These added elements make it look like a real tiny house! If you want to customize it even further, you could add house numbers or even a Dutch door. Every little detail counts!
Phase 2:
Fast forward four years from the day we laid the first deck board, and the backyard playhouse still looked pretty cute. But it could use a refresh, and my daughter felt very strongly that it needed to be pink. We chose Charming Pink from HGTV HOME by Sherwin-Williams.
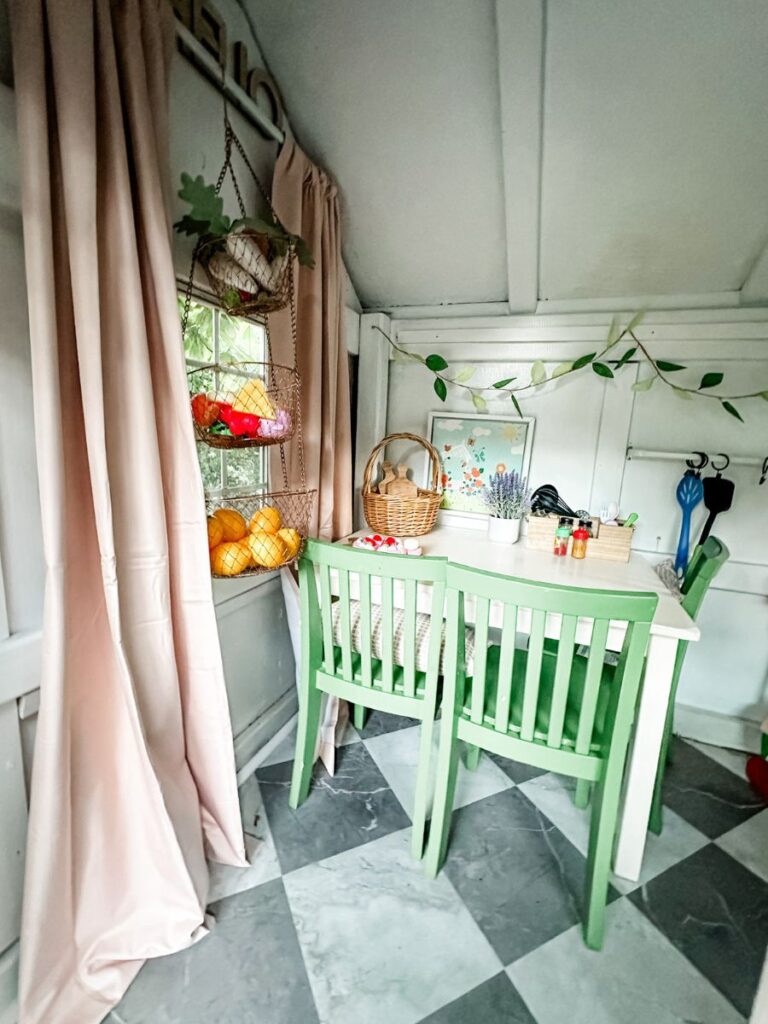
This felt like a great opportunity to upgrade the inside with some peel-and-stick vinyl flooring. These tiles look great, are very easy to apply, and make cleaning up a breeze. I selected 12-inch by 12-inch gray and white luxury vinyl floor tiles and laid them in a harlequin pattern, which is essentially a checkerboard but on an angle.
Click here to see the gray tiles
Click here to see the white tiles
Thanks to our awesome neighbor, we upgraded our table and chairs to a pre-loved Pottery Barn set. The whole space looks so bright and fun. I also added her play kitchen and some of her other toys that go with the “home” theme. In all, I’m extremely proud of how well this space came together.
The fun thing about a backyard playhouse project is that you can put as much or as little effort into it as you want. You could build a playhouse from scratch or buy one brand new. But, if you’re a budget-conscious (I did this entire project for around $300) DIY girlie like me, you’ll have as much time finding a used playhouse as you do renovating it!
If you complete your own backyard playhouse renovation, I hope you’ll tell me all about it!

![Thrifty Kids Playroom Makeover for Older Kids [On A Budget]](https://drdiyrenovation.com/wp-content/uploads/2024/03/IMG_6838-768x576.jpg)
